FREE STANDARD SHIPPING FOR ORDERS OVER $170!
FREE STANDARD SHIPPING FOR ORDERS OVER $170!
New In
Glues & Liquids
Ebooks

Classic Wet Look Lashes: Can it be Done?
August 31, 2023 5 min read
Want to Create Wispy Wet Look Lash Extensions but Only Offer Classic Lashes? No Problem!
When you think Wet Look Lashes, you think wispy volume lashes, you think head-turning texture, and you think closed fans in spikes to create all of the previously mentioned. At least, you do if you’ve read this post all about how to create the perfect wispy wet look lashes. All of that is to say that generally speaking, though a wet look lash set uses closed fans in spikes, it is a type of volume lash set. So can you create classic wet look lashes? We think you can. Here’s how…
What are Wet Look Lashes?
Very simply, they’re a style of eyelash extensions that make the lashes appear wet. You know how when you come out of the shower and your lashes are stuck to one another due to the water on them? That type of thing, but all the time and purposefully.
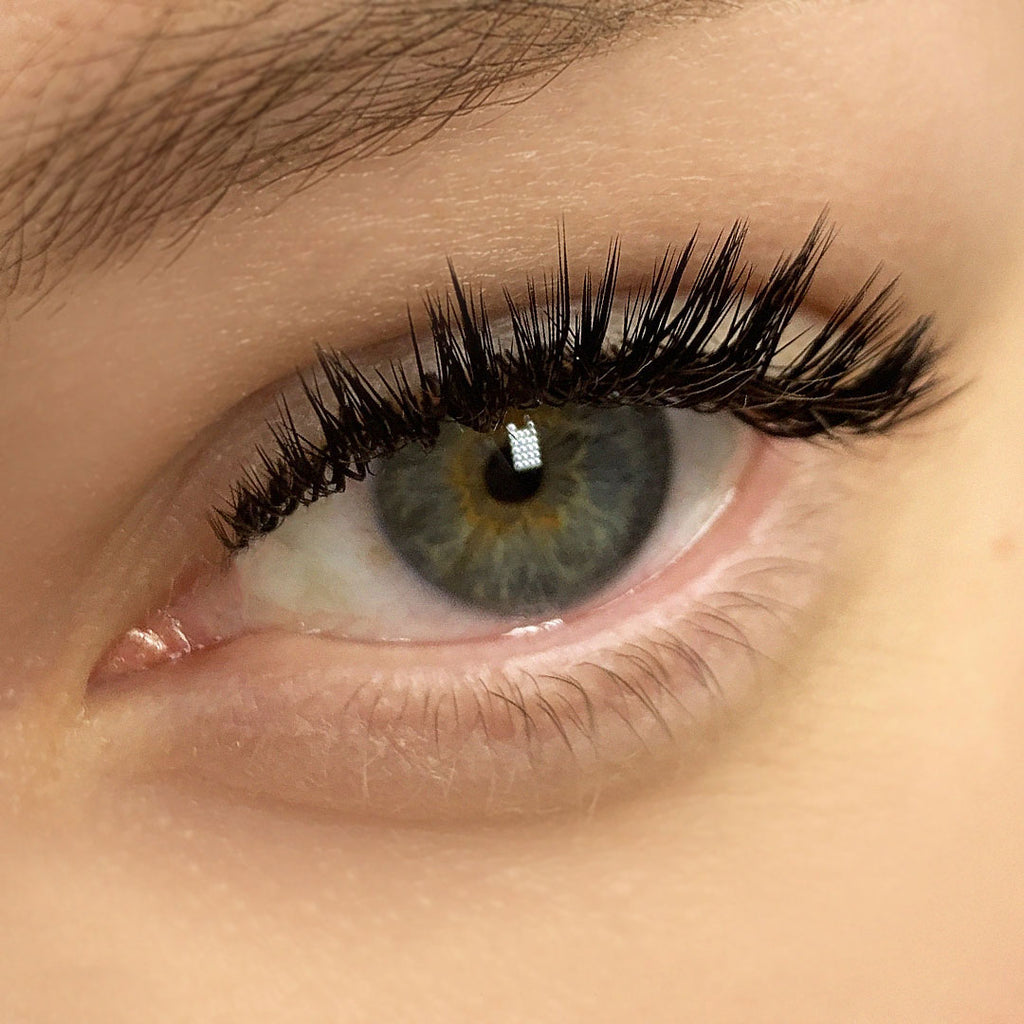
Generally speaking though, a wet lash look is achieved using volume lashes that you don’t make into fans – these closed fans form spikes and create that gorgeous texture that wet lash look extensions are known for. We’ve gone into a lot more detail in this article, so check that out if you’re not too sure how to map and style a wispy wet look lash set.
If wet look lashes are created using closed volume fans though, how can we create a wet lash look with classic lashes? Well, the answer lies in a particular type of classic lash extension…
What Are Flat Lash Extensions?
A flat lash extension is a type of classic eyelash extension. You might have seen or heard them referred to as ellipse lashes or cashmere lashes – like with so many other things in the lash industry, there are multiple names for the same thing. All you really need to know is that, as the name would suggest, they have flat bases instead of a round base like your standard classic eyelash extensions.
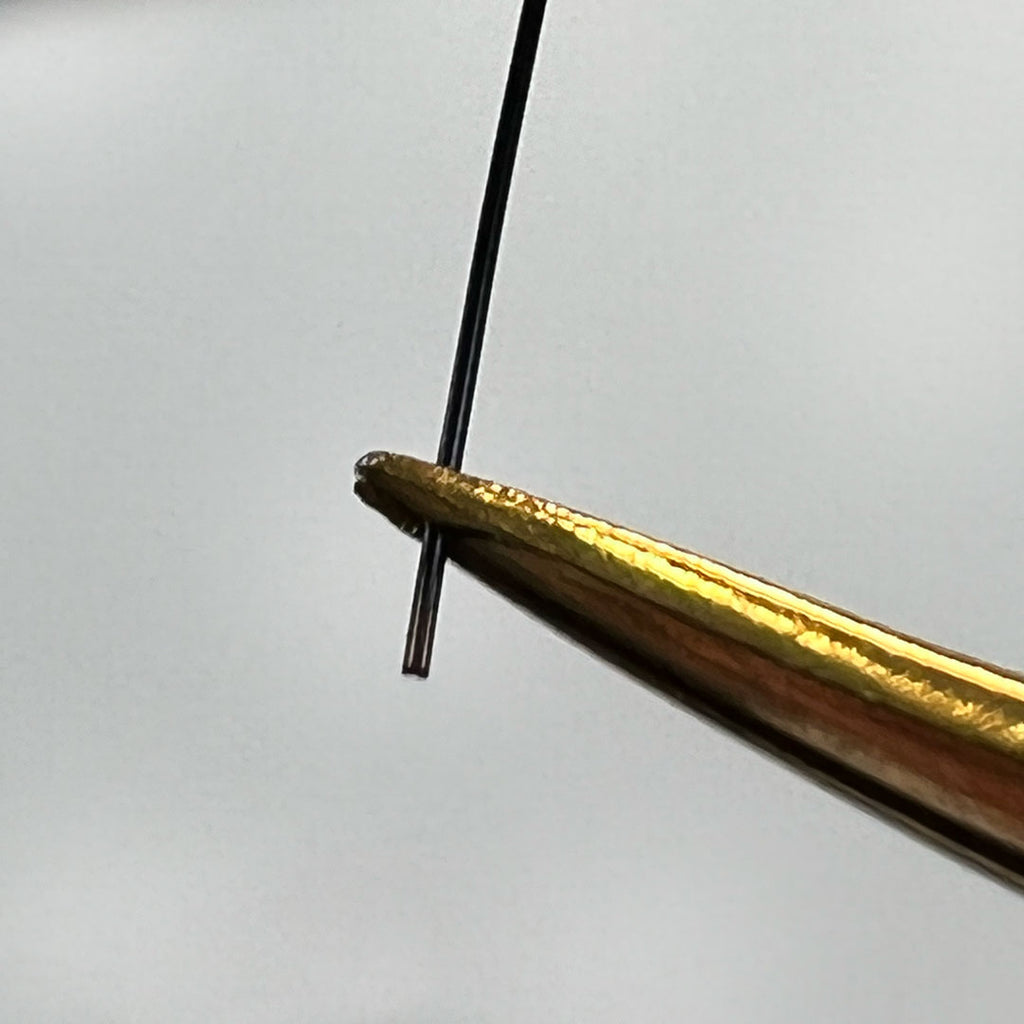
This flat shape means that thicker lash extensions can be used than you’d typically use for your classic lash sets, as flat lashes are created by fusing two much thinner eyelash extensions together. This results in a classic lash extension which appears to be the same diameter as a 0.20 classic lash, but which only weighs around the same as a 0.12 classic lash. This means that you can create lash sets which are bold and dramatic, but which look after your clients’ natural lashes, even if they are on the fineer or shorter side.
Aside from this shape, the other key difference between flat lashes and classic is that our flat lashes have a split in their tip which adds extra fluff, and lends itself really well to creating a similar texture to the closed fans used in a regular wispy wet look lash set.

Top Styling Tips for Classic Wet Look Lashes
Mix Thicknesses
Wet Look Lashes are all about texture. When you’re using volume lashes this is pretty easy to achieve, but it can be a little more challenging to create this kind of effect with classic lash extensions.
By mixing different thicknesses of flat lashes, you’re effortlessly creating a multidimensional and textured lash look that is true to a wet look lash set, but which is lightweight on the lashes, reasonably quick to apply, and will satisfy your clients who love wispy lash extensions the most!
Mix Lengths
This is true of any lash set really, but the key to creating really wispy lash sets is playing with a mixture of lengths throughout the eye. Start in the inner corners with shorter lengths of course – we’re always looking to keep those natural lashes safe by using shorter lash extensions in the inner corners, but the rest of the lash line is your playground!
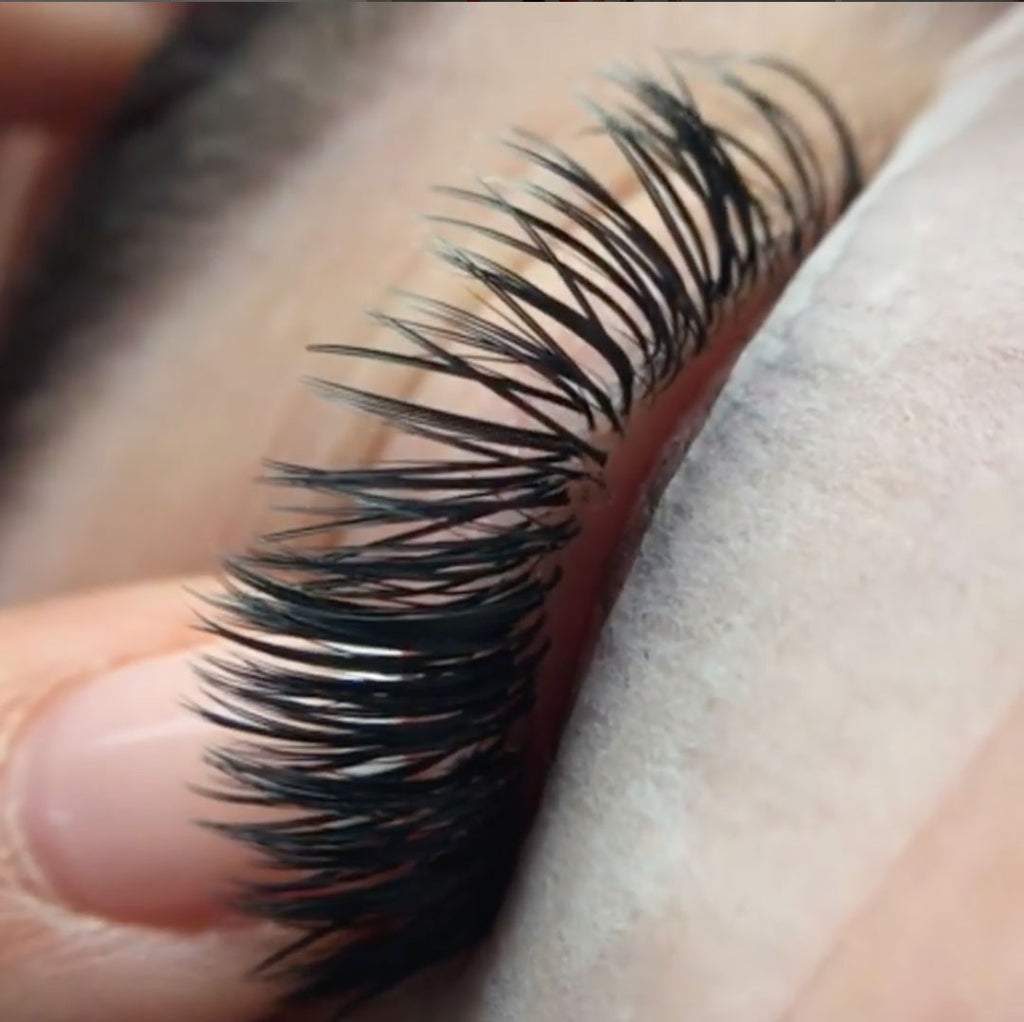
Mixing lengths adds texture effortlessly. It’s an easy way to create classic lash extensions with spikes and makes for really wispy lashes.
Play With Layers
This goes hand in hand with the previous two points. The natural lashes grow in more than one layer, and the way that you attach your lash extensions to each of the layers can make a huge difference to the way your lash sets look in the end.
Very quickly, here’s an overview of the three main top lines you can achieve:
- A super even top line comes from dropping down one millimeter as you go up a layer. If in a section you use 11mm on the bottom layer, on the middle layer you’d use 10mm, and 9mm on the top layer – when your client opens their eyes, the tips of their eyelash extensions will all be on one level.
- A natural top line is achieved simply by adding the same length extensions to all of the layers in your lash set. 11mm on the bottom layer, 11mm on the middle layer, 11mm on the top layer. This is super easy, and doesn’t need too much thought, so if your client favors really natural lash extensions, this is a good option!
- A wispy top line with lots of texture comes from doing the reverse of what you did to get an even top line. Apply 9mm on the bottom layer, 10mm on the middle layer, and 11mm on the top layer, so when your client opens their eyes, they’ll have a really nice textured wispy lash set with density closer to the eyelid.
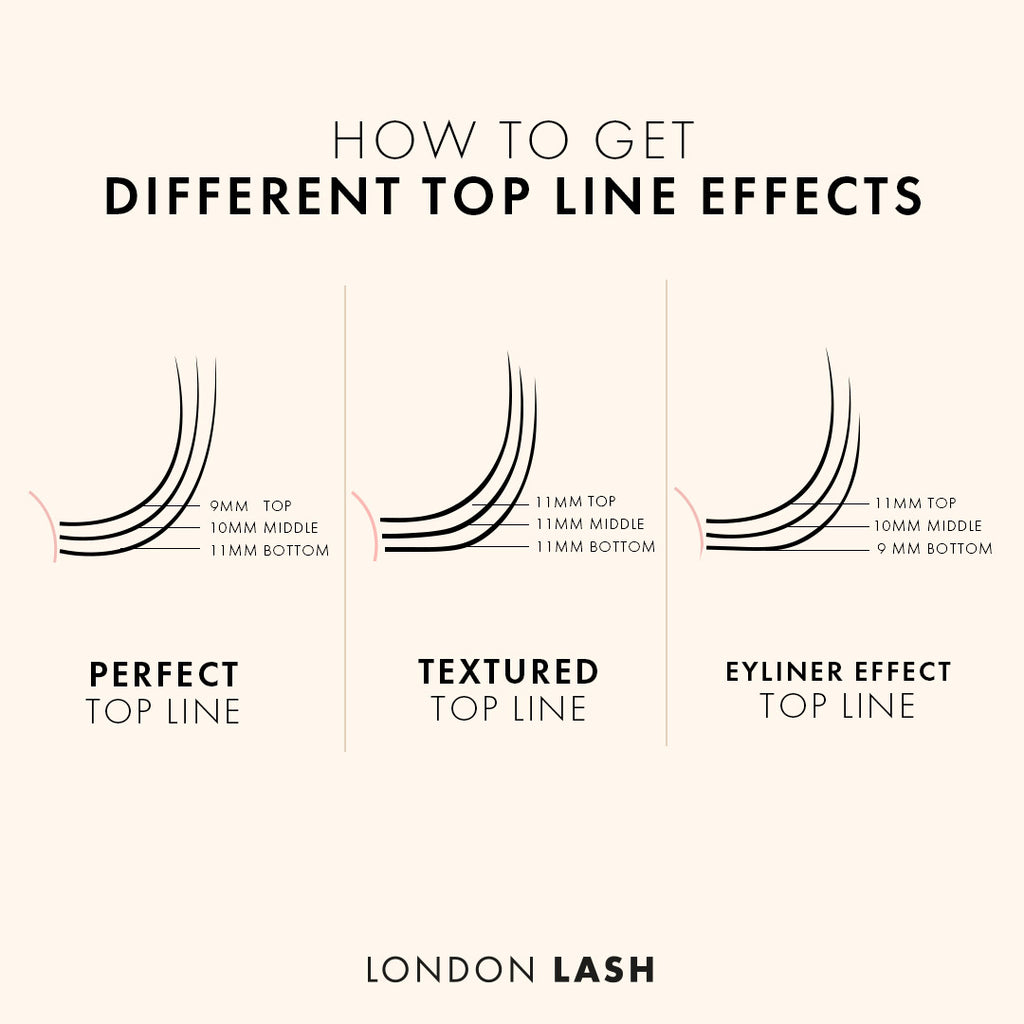
Of course, you can get creative with how you apply lengths – you don’t have to only go by the layers, and you can add extra spikes and wisps through the set as you like depending on what your client would like to get out of the set as well.
Play With Color
Okay, we don’t actually have colored lashes that are flat, so this is just for fun and extra texture. If your clients are a little more on the daring side, add in a colored classic lash from time to time throughout your lash set! For some tips about adding colored lashes to your lash sets, take a look at this blog post.
While wet look lashes may typically be considered a type of volume lash set, there’s no set rule for the way you achieve a certain look. The more variety you show off in your after photos on Instagram or your website gallery, the wider your pool of potential clients becomes. Even if you’re only offering classic lash extensions, you can entice more clients simply by showing a little variation in the look and finish of your lash sets. Not only will they be intrigued by the broad spectrum of lashes you can create, they’ll know that you’re the go-to-tech when it comes to completely bespoke lash looks!
Check out these featured products
Subscribe
Sign up to get the latest on sales, new releases and more …


