


How Versatile Are Volume Lash Extensions?
A Guide to Volume Lash Extensions Mapping | Four Ways to Apply Volume Lash Extensions!
Volume lash extensions have been a service as we know them since 2011, and even in that short space of time have changed and adapted a lot – we now have lots of different thicknesses, and even different types of volume eyelash extensions to allow us to meet our clients’ needs.
Just like with any type of lash extension, you can use any lash mapping style you like, so let’s go over the kinds of looks you can create with volume lashes, and you can pick when to opt for a doll eye lash map, a cat eye lash map, or any other lash mapping style at all.
Natural Volume Lash Extensions
What’s classed as natural will be a bit different to each client, but if we think of natural as a lighter look with a nearly wispy lash line, you could style it by using 0.10 lashes in 2D, or even 0.07 in 2-3D for a lighter finish. For a very natural look, consider using brown lash extensions which are pretty dark still, but which give a much softer finish to your completed lash set.
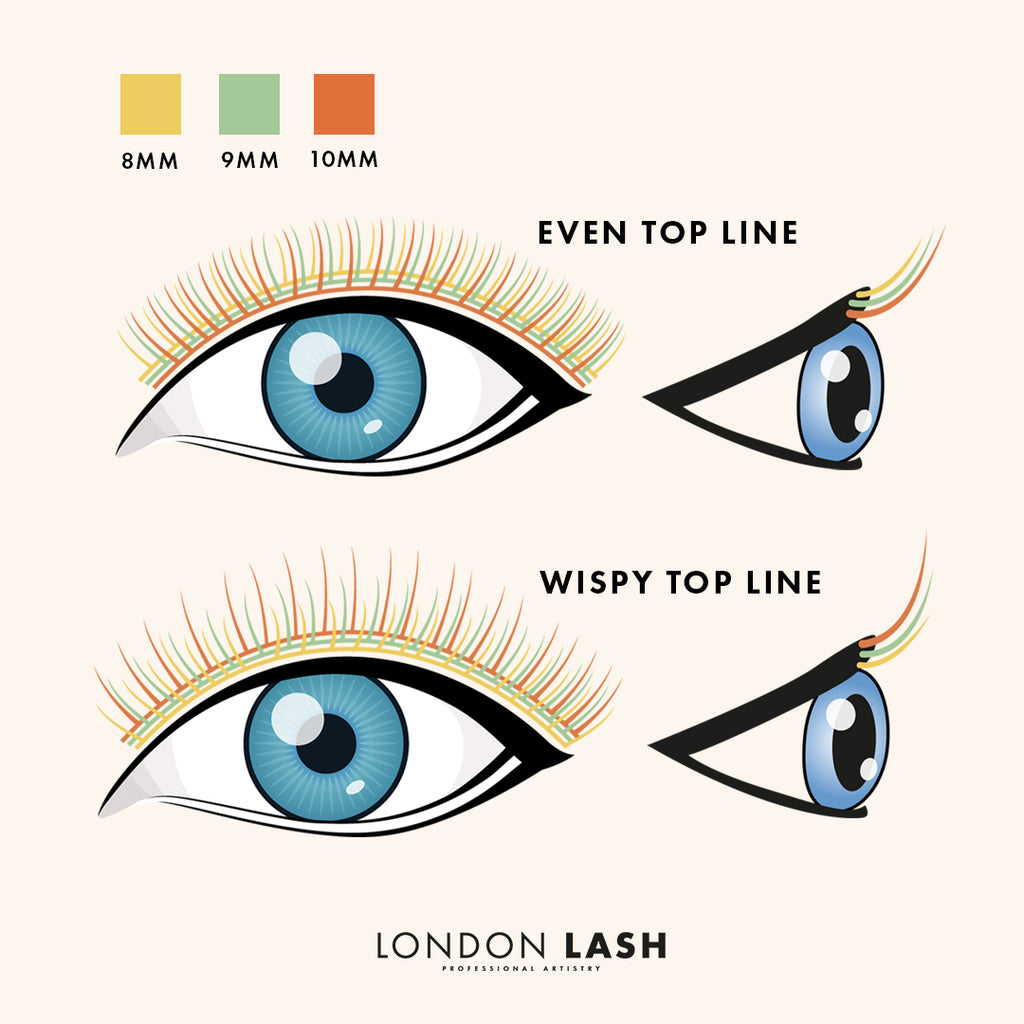
When it comes to your wispy lash line, instead of dropping down 1mm each time you go up a layer like you would in those super neat Russian Volume sets, you’re just going to apply the same length lash to each layer. This won’t be super wispy but it will bring that natural look you’re going for.
Just to show you what we mean, here’s an infographic:
Light Volume Lashes
You could argue that light volume and natural volume would come under the same umbrella, but the way we’re looking at it is that natural volume could be your own lashes, while light volume lashes are obviously extensions, they’re just very wearable if you don’t wear a lot of makeup day to day, or if you’re not going for a super dense, dark look.
For light volume lashes, you’re looking at 0.07 in 3D, or 4D if your client has more sparse lashes, but you can also go for 0.06 or 0.05 lashes to create a really light and fluffy set with 4D or 5D fans. With a light volume set, there’s no reason you can’t incorporate some colored eyelash extensions too, so if you’re in the mood to spice things up, check out this article which details 4 ways to map with colored lashes.
Wispy Volume Lash Extensions
Similar to natural volume lash extensions, there’s a lot you can do to make a lash set wispy. Simply by reversing what you’d do for a really even top line, and going up by 1 mm each layer you go up you can achieve a wispy lash set without really even trying.
Something else to try is applying a mixture of closed fans and small 2-3D fans like in an Angel lash set, or keep all of your fans closed for a set of wet look lashes! There are so many trending lash styles and all of them come under the wispy lash extensions umbrella, so don’t be afraid to let your creativity run wild!
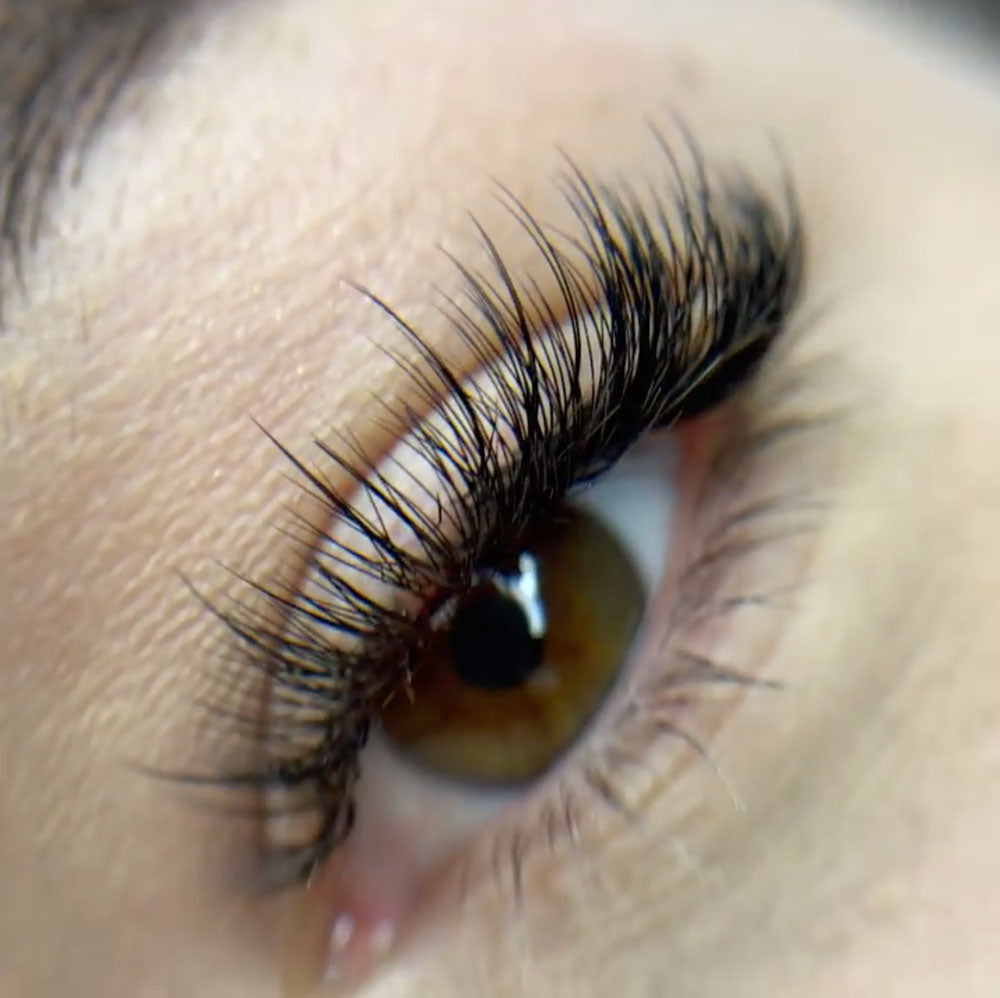
This stunning set of wispy volume lashes is by London Lash Master Trainer Loredana Irimia
Mega Volume Lash Extensions
What constitutes mega volume slightly differs from Lash Tech to Lash Tech – from our POV we consider anything more than 9D to be mega volume lash extensions. The key to a dark and dense mega volume set is as much about large fans as it is about working with the layers of the lashes – if you pay no mind to the layers or you leave a gap, you’re not likely to get the density that you’re looking for.
In addition to large fans (12D, let’s say) and layers, density comes from the width of the fan and the length of the lashes. If you’re using narrow fans your work will look more dense than if you’re using wider fans as there’s less space between each lash for light to come through.
Similarly, shorter fans will also add more density than longer ones for the same reason. If your client has more sparse lashes it can be difficult to achieve a dense look due to the natural gaps. What you can try is using narrow fans on the top and middle layers, and on the bottom layer of lashes use shorter fans but make them wider to cover the gaps. You’ll have a bit of a wispy lash line this way, but because the fans on the middle and top layer are more narrow you’ll maintain the density there more than you would with wider fans. The short lashes on the bottom layer will give you all sorts of dark, fluffy goodness in the lash set!
There are new trends and lash mapping styles emerging all the time, and knowing which lashes to choose for each trending lash style is half the battle!


