


6 Accessories (& One Honorable Mention) Your Lash Glue Will Love
Lash Glue Accessories: Are Accessories Actually A Useful Part of a Lash Kit, or Are They A Marketing Ploy?
Whether you’re just starting out as a lash technician or you’ve been in the biz for a while now, we totally get where you’re coming from if you feel like the amount of lash glue and glue-related accessories on the market feels completely overwhelming. Just to help you get to grips with what you really need right now, and what you might like in the future, we’ve put together this list of the Lash Glue Accessories that will improve your glue’s performance, and by extension your retention times!
One thing we’ll mention before we get into it is that while we are a lash brand, we are one founded and run by working lash technicians and enthusiasts, so when we develop new products it’s with you and your needs in mind – we get it, we know the struggles, we’ve been there too!
Hygrometer
Is a Hygrometer technically a glue accessory? Arguably it could be said to come under the bracket of lash salon decor, being as it just sits on your trolley looking cute, but it has such an important role that it’s actually something that we consider vital for each and every lash tech. If you don’t know, a hygrometer checks the temperature and humidity levels in your lash salon which means that you can adjust them or adapt to them while you’re working, ensuring no issues with your lash glue, and no bad lash retention as a result! For more information about how your room conditions affect your lash extensions glue, take a look at this blog post.
- Cost of Hygrometer: $53
- Cost of Not Using A Hygrometer: Hundreds of $s in trying different glues + potential loss of clients.
- Necessity Level: The highest you can imagine!
- Instead, You Could Use…: Nothing. There is no substitute for a good hygrometer!

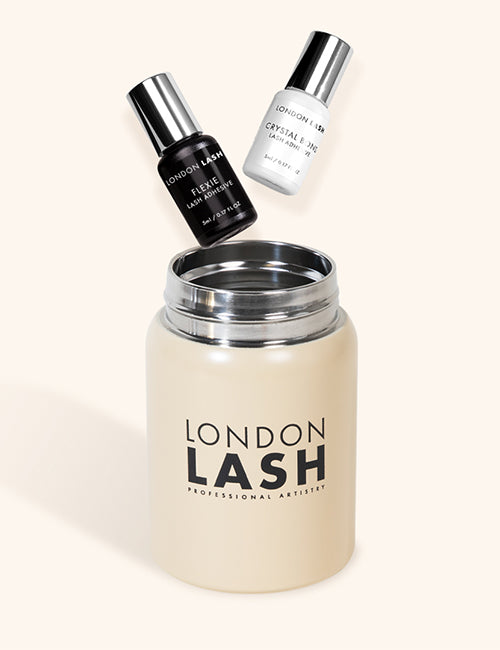
Airtight Container
Do you really need a lash glue storage container? Well, technically you could use any airtight container, but consider that the lash glue storage we have here has been designed specifically for eyelash extensions glue. While it can’t be said that airtight containers control the temperature, they do a better job of it than glass mason jars for example, and they are more airtight than Tupperware whilst also ensuring that your glue bottle remains upright. In addition to this, they look super cute and it’s for sure a clear winner when it comes to glue storage!
The way you store your lash extensions glue has a huge impact on its longevity and its performance. Storing your lash glue in an airtight container specifically designed to be used with lash glue is going to keep your glue fresh and working perfectly for way longer than if you leave it on your trolley or just pop it in a cupboard when you’re done for the day. Moisture anywhere near your lash glue will cause it to begin curing, so it’s well worth investing in some storage for it.
- Cost of Airtight Container: $16
- Cost of Not Using an Airtight Container: More $s than necessary replacing glues you shouldn’t have to
- Necessity Level: High
- Instead, You Could Use: The aluminum pouch that your glue arrives in. Keep the silica gel packet inside, and be sure to keep it somewhere cool and away from heat sources and sunlight. Be extra careful if using a mason jar or Tupperware that it’s A. actually airtight and B. isn’t anywhere near a window or any heat sources, as they’re even less effective at temperature regulation than a lash glue-specific container.
TOP TIP: For extra moisture avoidance, put some uncooked rice in the bottom of your container. Not only will this absorb any moisture that gets into the container, but it will also help your glue bottles to stay upright between uses.
Glue Shaker
Properly shaken glue is an absolute must. Lash extensions glue is made up of cyanoacrylate, stabilizers, and black pigment. There are of course exceptions to that – an obvious one being clear lash glue which doesn’t contain any black pigment. The strength and the speed of lash extensions glues depend on the ratio of cyanoacrylate to stabilizers in the glue – the more cyanoacrylate, the faster the glue will dry. This is why you need to be sure you’re using the best glue for you – the ‘strongest’ lash extensions glue isn’t always going to give you the best retention!
Shaking lash glue by hand is obviously an option, and we’d honestly recommend that for beginners. Not because we want you to suffer the arm ache and the waiting that lash techs of history went through, but because it really pays to know how long, and how much effort it takes to get your lash glue to be perfectly mixed. If you’ve ever dispensed your lash glue only to find that instead of being completely black as you’d expect, it’s clear or slightly gray, it will be because your glue isn’t properly mixed.
By not mixing your glue thoroughly, you’ll find that in the beginning it’ll be more-or-less okay and will give you pretty good retention. As you get further down the bottle though, you’ll begin to notice that your glue's drying time will change drastically, and your retention won’t be too great either. This is because by not properly mixing the glue, you have a separation of the cyanoacrylate (the bit that sticks), the stabilizers (the bit that controls the drying time), and the black pigment (which is really just there for looks).

Glue shakers spin your glue to mix it – mixing with centrifugal force is better than the up-and-down motion that we achieve by hand, which means that your glue is properly combined within 10 seconds, rather than a minute of hand-shaking. It also means that the glue is kept out of the nozzle, making it less likely that your glue will spit out over your clothes and hands when you remove the lid after manual shaking, and less likely to cause blockages.
- Cost of Glue Shaker: $48
- Cost of Not Using A Glue Shaker: Poor retention if your glue isn’t shaken thoroughly, potential for glue on clothes, hands, and client.
- Necessity Level: Medium
- Instead, You Could Use…: Manual shaking – try to shake side-to-side rather than up-and-down though.
Glue Nozzle Remover
If anything feels superfluous to a lash extension kit, it's surely this. Why would you need a special tool to remove a glue nozzle when you could simply use tweezers, your fingernails, your keys, etc....?
For the simple reason that these methods carry far more risk than using a specially made tool. When using pliers, tweezers, fingernails or goodness knows what else, you end up putting in more effort, and use more of a pulling motion in both directions to remove your nozzle, which means that there is a pretty big risk of glue spillage, which is less than ideal. Add to this the very real possibility of damaging your nails and tweezers, and you run the risk of ending up with quite a costly situation which could have been avoided.

With a glue nozzle opener, you simply have to insert the opener hole underneath the nozzle, and use a lever or gentle rocking motion to remove the nozzle from the bottle. This results in a smooth swap, less chance of spillage, and no damage to tools or to yourself, your salon, or your clients.
- Cost of Nozzle Remover: $8
- Cost of Not Using Nozzle Remover: Potential for large glue spills, broken nails, and bent tweezer tips.
- Necessity Level: Medium
- Instead, You Could Use…: Pliers, for best results. Grip firmly and gently twist the nozzle out.
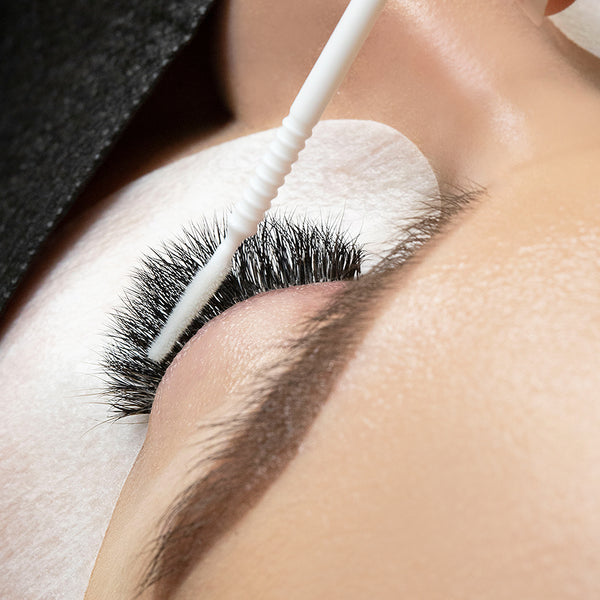
Nozzle Wipes
Proper lash glue care is absolutely essential, and that includes taking good care of your nozzles. Every time you dispense a drop of glue to use during your treatment, give the bottle a little tap on your trolley so that any air inside the nozzle can come out. Wipe the nozzle clean with a lint-free wipe and then replace the lid tightly before storing properly.
It’s really important that you don’t use tissue for this, as it will get stuck to the nozzle, and it’s even more important that you don’t use anything containing cotton, as cotton + cyanoacrylate produces an exothermic reaction and produces smoke.

Nozzle wipes are biodegradable and you get 200 per box. They’re pretty big as well, so you can pretty much use one wipe for a whole treatment’s worth of glue dispensing.
- Cost of Nozzle Wipes: $16
- Cost of Not Using Nozzle Wipes: Many completely avoidable issues.
- Necessity Level: Medium-High
- Instead, You Could Use…: Greaseproof paper, foil, or the backing that you peel off of eyepatches. These things aren't as absorbent so aren't quite as good, but will do the trick in a pinch, and are obviously lint free.
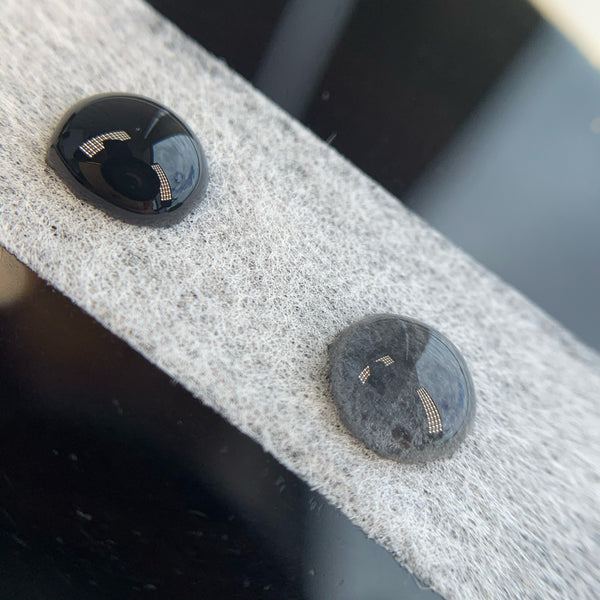
Jade Stones & Stickers
We get the appeal of using glue rings, we really do – when your glue is closer to you it feels more manageable. Consider the pitfalls of glue rings though:
- They put the glue much closer to your airways, and to your client’s airways so your exposure to glue fumes increases a LOT compared to when using a jade stone instead. Did you know that it’s pretty common for lash techs to become allergic to lash glue? The less you breathe it in the better, otherwise your career in lashes might be a short one!
- You use more glue in a glue ring than you do on a jade stone because you’re dispensing such tiny little drops onto your stone.
- You squeeze your glue into a ring, while you can let gravity do the work when you’re using a jade stone. This means that less air is sucked back into the bottle, and keeps your glue fresher for longer.
- Your jade stone won’t alter the conditions around your glue in the same way that a glue ring does. You can control your room conditions flawlessly, but then putting your glue on your finger mitigates that control, as your skin contains moisture and is warmer than a jade stone is, it’s also closer to your airways which produce warm moisture too.
By using a sticker on your jade stone, you’re also making your clean-up that much easier – just neutralize your glue, peel off the sticker and your jade stone is as good as new.
- Cost of Jade Stones: $22 (+$8 for a pack of stickers)
- Cost of Not Using Jade Stones: Possible breathing issues, overuse and underperformance of glue
- Necessity Level: Medium
- Instead, You Could Use…: Take a glue stone sticker or a couple of strips of tape and stick them to your lash palette to keep everything in one place.
Honorable Mention: Superbonder
Superbonder isn’t an accessory by any means, but it will make your glue and your clients very happy. While not exactly a necessity, if you use Superbonder once you’ll be sure to use it each and every time you do lashes.
Superbonder is a lash glue sealer, so it’s used at the end of the treatment to cure your glue. It’s similar to using a nanomister, but it keeps the glue bonds flexible which prolongs retention times, and it has the added benefit of locking in glue fumes, so no irritation for your client!
We’ve gone into a lot more detail about Superbonder in this article, so be sure to check that out if Superbonder is something you’ve been considering!
- Cost of Superbonder: $60
- Cost of Not Using Superbonder: Possible issues with lash retention and more exposure to glue fumes.
- Necessity Level: Use it once and you’ll use it forever – in the summer especially we’d say this is a high priority.
- Instead, You Could Use…: you could use a nanomister, but you’ll prefer Superbonder…
Aside from those, you might also want to pick up a Mini Cooli – they’re great for giving your client’s lashes a little blast at the end of treatment before applying your Superbonder and it’ll feel lovely, cool, and relaxing for them! On hot days, they’re also nice to have on hand for yourself. If you’re just starting out in lashes or if you’re trying to keep your product spend to a minimum, it’s perfectly fine to use alternatives or to skip accessories entirely – you’re not doing it wrong by opting for the basics. All that being said though, don’t ever let anyone tell you it’s okay to try and get by without a hygrometer!


