FREE STANDARD SHIPPING FOR ORDERS OVER $170!
FREE STANDARD SHIPPING FOR ORDERS OVER $170!
New In
Glues & Liquids
Ebooks

Eyelash Extension Kit: Classic Lashes Edition
April 08, 2024 4 min read
The Lash Kit Makes the Lash Technician, But What Goes Into A Kit?
Getting started with eyelash extensions isn’t as simple as it might appear. You probably know you need eyelash extensions, lash glue, and tweezers, but even each of those has multiple options, so how can you be sure you’re getting the best eyelash extension products for you? Let’s take a look at what you need in your eyelash extension kit for classic lash extensions.
Which Lashes You Need
Keeping it simple to begin with, you have a choice of four thicknesses for Classic lash extensions, depending on the type of look your client wants and what their natural lashes are like.
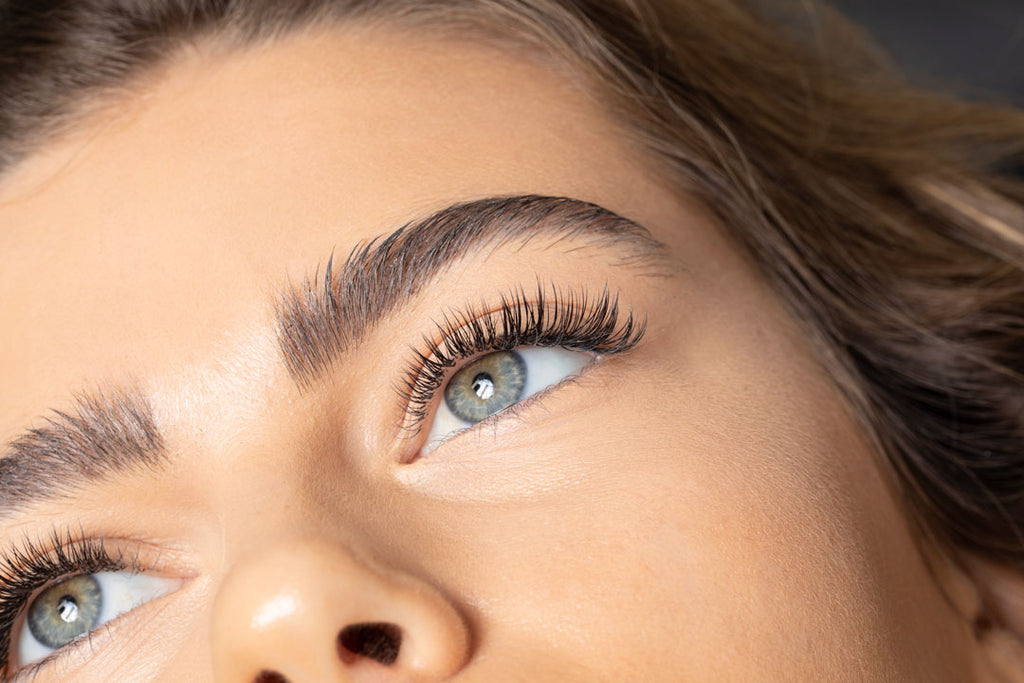
0.10 Classic lashes will give you a set of natural lash extensions that just accentuate the eyes.
0.12 Classic lashes will give you more of a mascara effect. If your client has a lot of natural lashes, this thickness can already look quite full!
0.15 Classic lashes will give you a darker mascara effect. For the vast majority of clients, this is the thickest lash extension that you should pick to ensure natural lash safety.
0.18 Classic lashes will give you quite a bold finish, but shouldn’t be picked for absolutely every client as they can be a little bit heavy on the natural lashes.
Whichever lashes you choose to begin with, it’s worth having a mixed length tray each of C and CC curls, as these are the most universally flattering curls, and the mixture of lengths gives you the opportunity to complete a few lash sets to see which lengths you use the most before you commit to stocking up on individual lengths.

Choosing A Glue
There are a few factors that go into picking the ideal lash extension glue for you, and before you even go about choosing a glue, we highly recommend that you pick up a digital hygrometer so that you can assess what your room temperature and humidity levels are, as these are two of the main factors that you’ll need to know before you can choose the ideal glue for you.
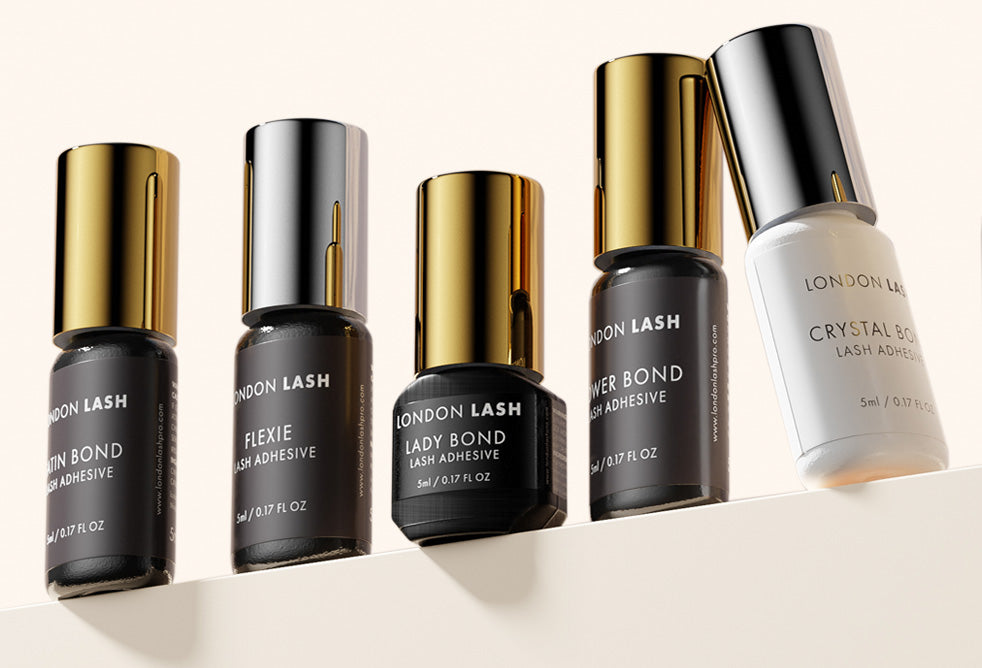
As a complete beginner, you’re likely to take a bit longer to place your extensions on the natural lashes, so it’s best to look at Satin Bond, which has a 2-second drying time, or Lady Bond, which has a 1-2 second drying time.
You can pick up samples of eyelash extension glue to try out if you’re not sure you’re ready to commit to one glue over any other.

Which Tweezers to Pick
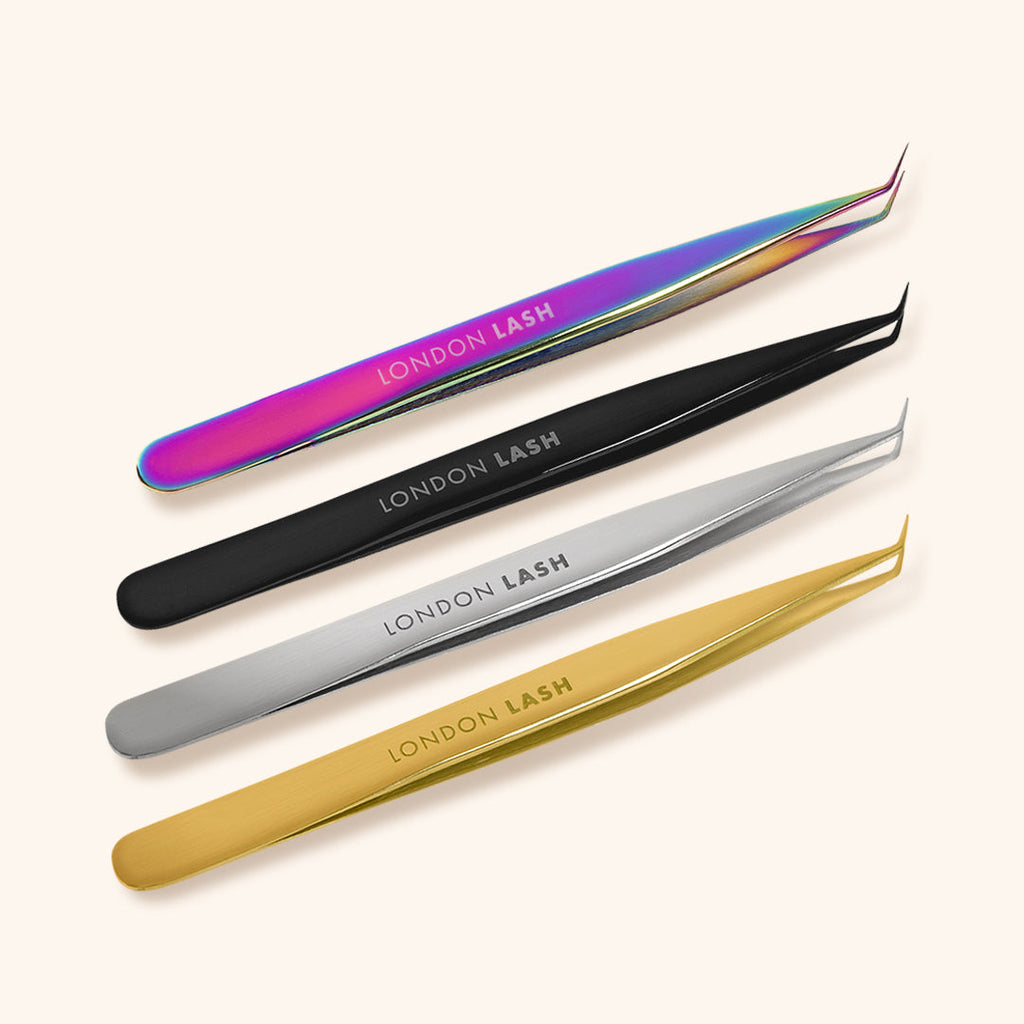
You’ll need two pairs of lash tweezers; one for isolating the natural lashes, and one for picking up and placing the lash extensions.
Finding the best lash extension tweezers for you will mostly depend on the angle at which you are most comfortable holding your hand while you’re working. It’s worth trying out different shapes to see which one works best for you specifically.
We do recommend that you have a spare pair of tweezers in your collection, just in case you drop your favorite pair. A good choice for this is our Multifunctional Tweezers, as these can be used for classic lashes, isolation, separating stickies, and even for creating quick 2D fans.
Author’s note: I personally prefer to use Curved Tweezers for isolation, and Multifunctional Tweezers to pick and place the lash extensions because their respective angles make them really easy for me to work with.

Anything Else?
Yes, actually. You’ll need some of the following:
Under Eye Patches and/or tape. Tape can be alone to hold the lower lashes down, but under eye patches are more comfortable for your clients.
Lash Prep. You need to make sure those lashes and the skin around the eyes is perfectly clean, otherwise, your lashes just won’t stick. If you’re looking to keep to a smaller budget, you can get away with solely using Lash Shampoo as long as you rinse properly. In time, you can build up to a more in-depth routine that will prolong your lash extensions retention times.
Eyelash Extension Remover. It’s a shame to have to remove lashes, but you will need to from time to time, and you’ll need the right product to ensure safe removal. We recommend Cream Remover, as it’s easy to apply, and doesn’t run the risk of running into the client’s eyes.
This is the simplified version of creating a kit for Classic lash extensions. As with everything relating to eyelash extensions, there are nuances and caveats, many more choices than are listed here, and lots of options that can make your head spin! Our advice when you’re starting out is to keep things simple and build up your kit as you build up your skills and knowledge. To take out all of the guesswork, you can even grab a classic lash extension kit that’s already been put together for you, ranging in size depending on your budget!
Subscribe
Sign up to get the latest on sales, new releases and more …


