


Your Complete Guide to the Hottest New Lash Trend: Angel Lashes
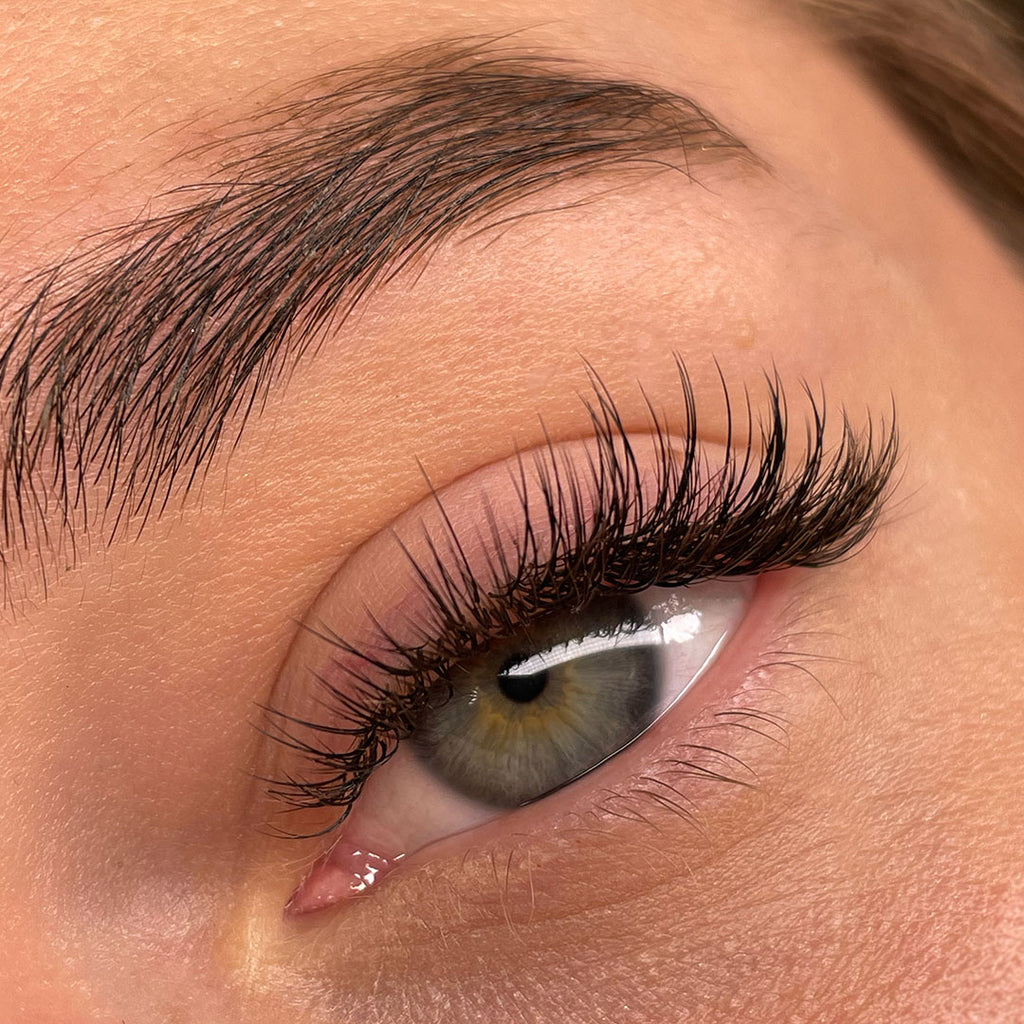
Introducing the Newest Wispy Lash Set: Angel Lashes!
If there’s one thing our clients are proving again and again, it’s that wispy lashes are IN! With a sudden surge in client interest in light and natural eyelash extensions though, it can be very difficult to create a lash set that ticks both boxes. At least, that was the case until angel Lashes burst onto the scene. So, what are Angel Lashes, and how can you map and style them?
What Are Angel Lashes?
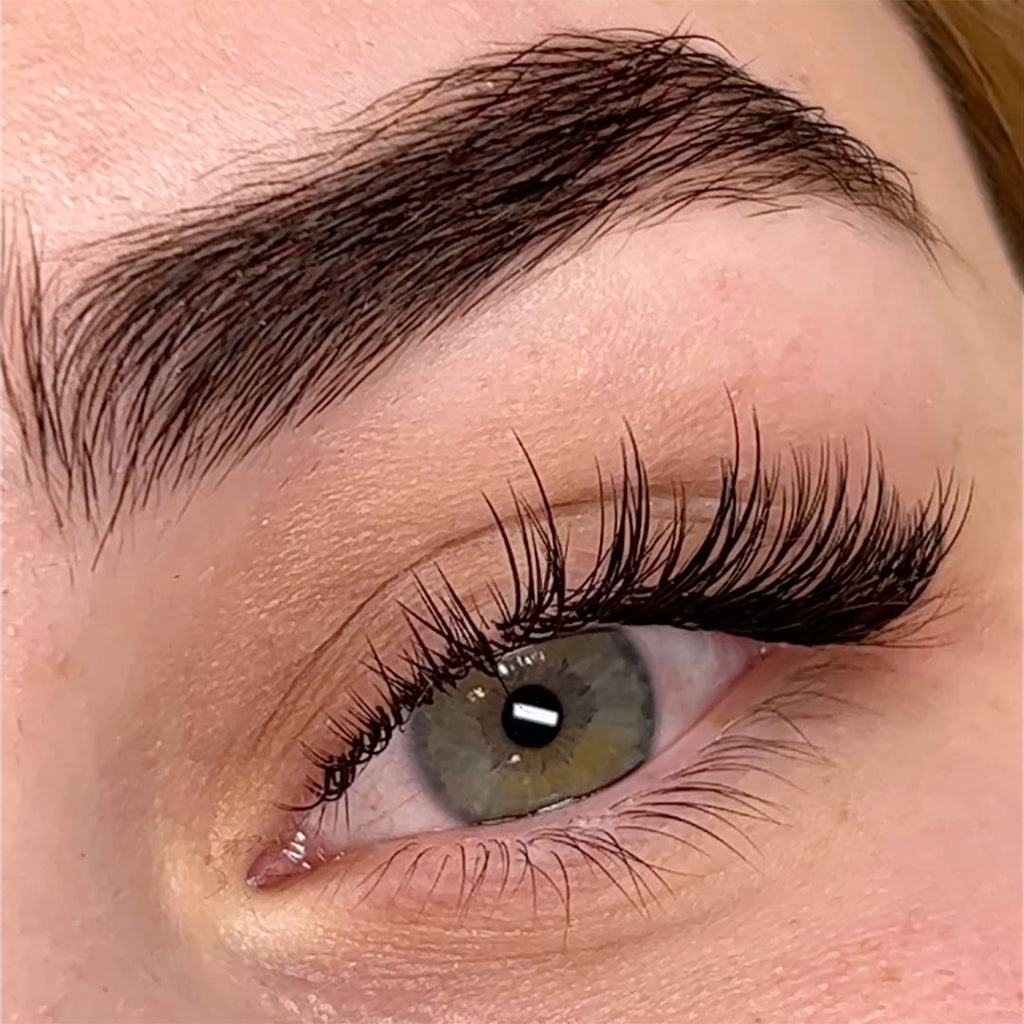
Angel Lashes are a variation on a wet look, but instead of using closed 3-5D fans to create the spiky texture, you’re going to be using 0.07 lashes to make closed 2D fans.
In case your client has more sparse natural lashes and you want to add a little bit of fluff to fill in some gaps, you can open your closed fans a little bit, but do try to keep them narrow. For even more fluff and a very light and much wispier look, take 0.05 lashes to create your open fans, and stick to 3D maximum – though 0.05 lashes are technically used for mega volume lashes, they create the most dreamy little fans which are perfect for Angel Lash sets!
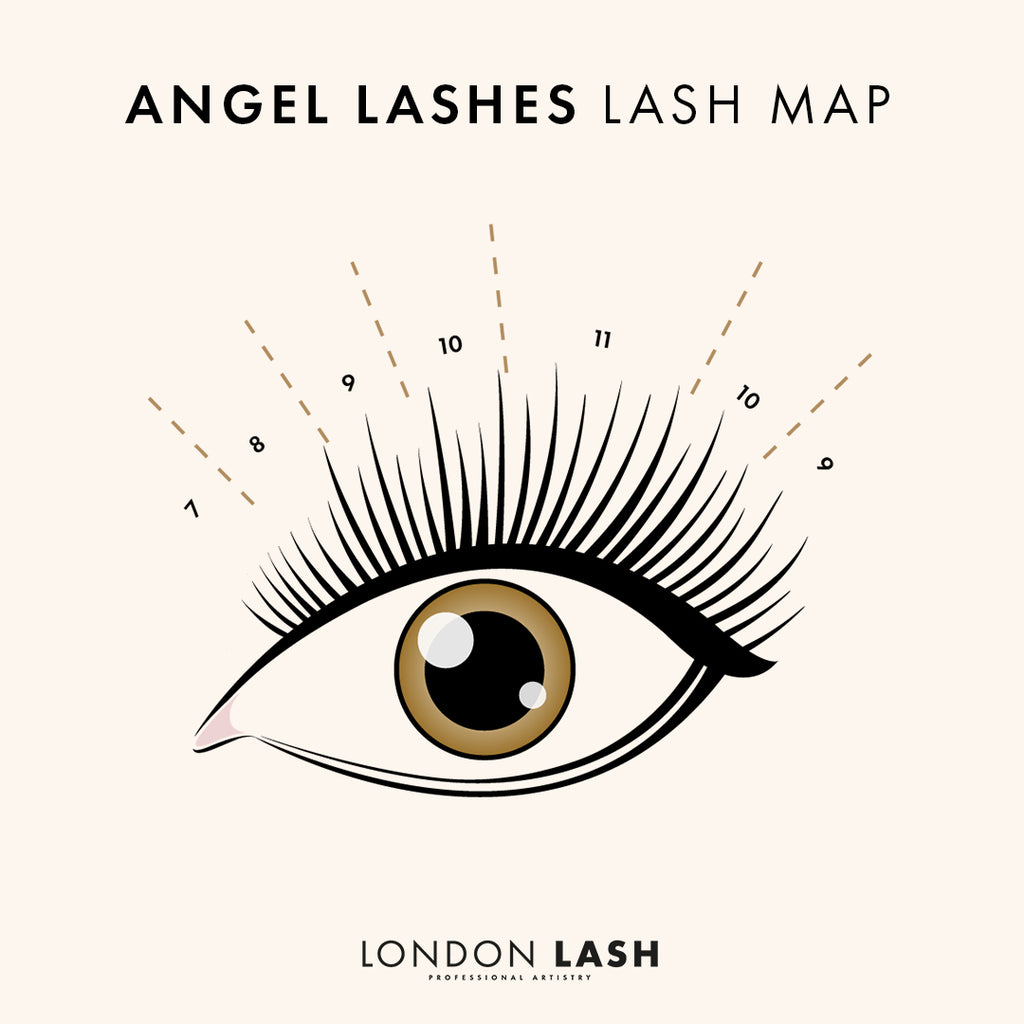
Angel Lashes Mapping Style
Like with any wispy lash set, you can follow any of the 4 basic lash mapping styles depending on what will best suit your client.
The key to an Angel Lash map is to have an uneven top line. If you’ve been in the lash industry for a long time, you may remember that super neat and even top lines used to be what we’d all strive for. While those are a skill in themselves, they’re not necessarily what our clients want, and they’re pretty much the opposite of what we want from an Angel Lash set. So how do you do that?
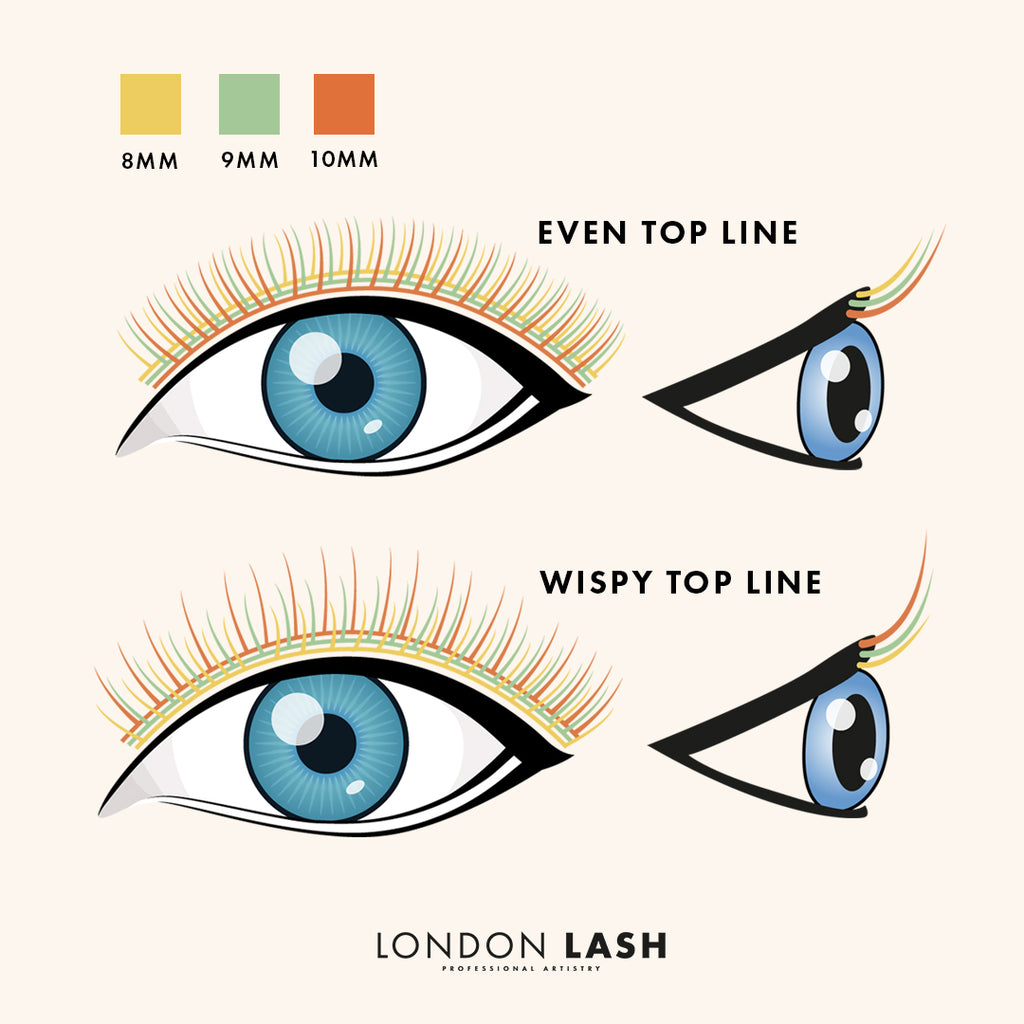
It comes down to how you apply lashes to the different layers of your client’s natural lashes. For that very even lash line we mentioned, you’d be dropping down a millimetre each time you went up a layer (bottom layer of lashes 10mm, middle layer of lashes 9mm, top layer of lashes 8mm for example) for a really wispy finish, just reverse that. By doing this, you’ll have a bit more density on the bottom and a really gorgeous light and wispy top line.
Two of Our Top Tips When it Comes to Angel Lashes
Our first tip will help you to create closed fans easily and can be used when creating a wet look too – any time you need to create closed fans to make spikes this will come in handy!
Take a microfiber brush and apply a drop of Lash Primer, careful to dab the excess onto a tissue, then brush it along the tips of your lashes on the strip. This will keep the tips together while you’re creating your closed fans! If you want to use the lashes next time, all you need to do is give them a brush through and it’ll be like Primer has never been near them! When you’re doing this, just be careful not to go too near the base of the lashes on the strip otherwise you’ll affect the drying time of your glue, possibly causing retention issues.

Our second tip is purely about aesthetics. Throughout your set, add in a spike here and there of silver or light blue lashes. While we appreciate colored lashes not being for everyone, what could be more cloud-like and angelic than some light blue or silver lashes peppered throughout an already deliciously light lash set?
And that’s all there is to it! Who’d have thought the secret to giving your clients a cloud-9 experience was in closed fans all along?


