




A Step-by-Step Guide to Professional Lash Lifts
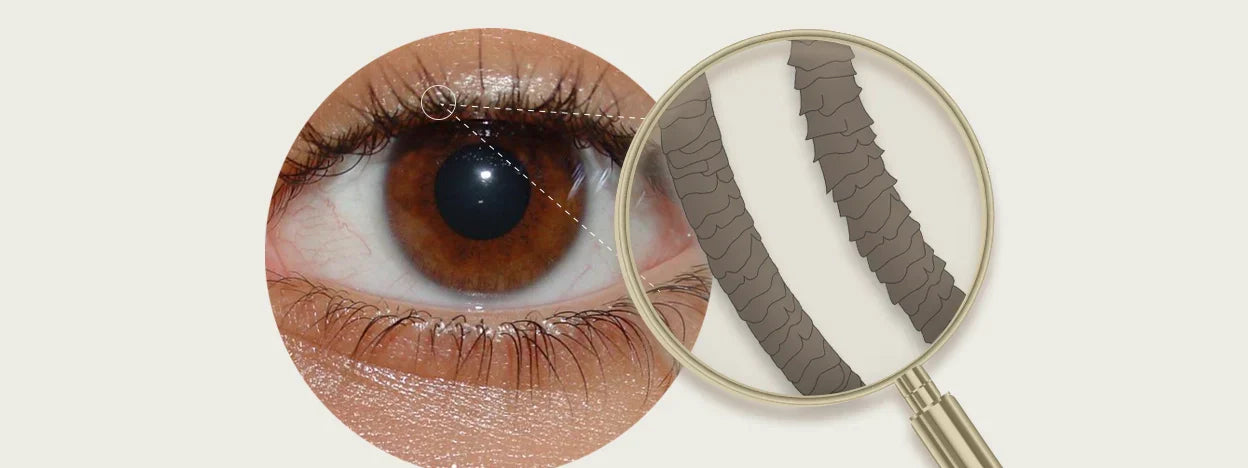

Table of Contents
No matter how long you’ve been in the beauty industry, you’re sure to have heard of Lash Lifts. Sometimes known as lash lamination or lash botox, our signature treatment relies on the premium Nouveau Lashes CeraLashLift system. Any variation of a lash lift is designed to reshape your eyelashes to make them look longer, thicker, and beautifully curled without the need for extensions.
Where the CeraLashLift system has the ultimate edge is its infusion of ceramide complexes. This professional system doesn't just curl; it actively protects and restores the hair structure during the chemical process, ensuring lashes remain healthy, shiny, and strong between appointments.
How do you achieve that perfect lift? We’ve put together the ultimate step-by-step guide to the Nouveau Lashes CeraLashLift system so you can get flawless, professional results every single time!
The Step-by-Step Application Process
Step 1: Prep & Prime
Before you begin the treatment, you must clean the skin and eyelashes thoroughly. Any leftover makeup, skincare residue, or natural sebum will act as a barrier, preventing the lifting products from penetrating the hair cuticles effectively.
Cleanse the eye area thoroughly using a professional lash shampoo, rinse with cool water, and pat completely dry to remove all makeup, oil, and residue for optimal product performance.

Step 2: Apply Smart Shields
Isolate and protect the lower lashes using under-eye patches to ensure they don't accidentally get caught in the lifting process.
Next, choose the right shield size for your client (Nouveau Lashes Smart Shields are available in Extra Small, Small, Medium, Medium Large or Large). Choosing the right shield size is crucial:
-
Too small: The lashes will over-curl or kink.
-
Too large: You won't get enough visible lift.
Aim for a shield where the natural lashes cover roughly two-thirds of the curve, and secure it comfortably along the upper lash line using your bonding gel.
Step 3: Bonding and Lifting the Lashes
Using your Bonding Balm and a precision brush or lifting tool, begin guide-aligning the lashes onto the shield. It is best to work in small, manageable sections because the bonding balm secures quickly.
Apply a small amount of balm, pull the lashes taut and straight upwards onto the shield, and use the tip of your tool to separate any stubborn hairs. Ensure the lashes are perfectly parallel and not crossing over, as they will set in whatever position you place them here. Use a minimal amount of balm—too much product will create a barrier that blocks the lifting creams.

Step 4: Step 2 – CeraLashLift Lifting Balm
Once the lashes are perfectly aligned on the shield, it's time to open up the hair structure. The CeraLashLift Lifting Balm (Step 2) breaks down the disulfide bonds in the hair, allowing it to be molded into its new, curled shape.
Squeeze a small amount of the Lifting Balm onto a non-metal palette. Using a fine applicator brush, apply a neat, even line to the lower-to-middle section of the lashes. Always avoid the very roots and the delicate tips of the lashes to prevent over-processing.
Timings depend strictly on the client's natural hair thickness:
-
Fine/Thin Hairs: 4–6 minutes
-
Medium/Normal Hairs: 6–8 minutes
-
Thick/Coarse Hairs: 8–10 minutes
Note: Always time each eye accurately and independently. Remove the product thoroughly using a dry cotton swab or microbrush when the time is up.
Step 5: Step 3 – CeraLashFix 2-in-1 Volumising Fix
With the hair cuticles open, CeraLashFix (Step 3) steps in to reform those broken disulfide bonds, locking the eyelashes into their gorgeous new upward shape.
Apply the Volumising Fix to the exact same area where the lifting balm was placed. This step neutralizes the previous chemical process and begins closing the hair cuticle.
Leave the Volumising Fix on the lashes for 5 to 6 minutes, depending on the hair type and processing depth. Once completed, gently remove all of the product with a clean, dry microbrush.

Step 6: Tinting (Optional)
Lash tinting is a fantastic optional step that really makes a lash lift pop, especially for clients with blonde or light brown lashes. Mix a pea-sized amount of your chosen professional tint with an equal measure of developer. Apply thoroughly from root to tip.
Because the hair cuticle has been freshly processed, it will take color very quickly. Leave the tint on for 3 to 5 minutes, then completely remove any residue with a dry or very slightly damp cotton pad, ensuring the lash line is clean.
Step 7: Step 5 – CeraLashRestore Moisturising Complex
To conclude the chemical process and give the lashes an intense boost of hydration, apply the CeraLashRestore Moisturising Complex (Step 5).
Infused with nourishing ingredients, this step conditions the lashes, restores moisture balance, and seamlessly dissolves the remaining Bonding Balm, making it easy to release the lashes from the Smart Shield. Let it sit on the lashes to deeply condition the hair fibers.
Gently run a damp applicator wand behind the Smart Shields to release them from the eyelids. Use a clean mascara wand or F-brush to brush through the lashes, removing any remaining residue and fluffing them out to perfection—perfect for taking those social media before-and-after photos!

Aftercare and Maintenance Guidelines
A Nouveau Lashes CeraLashLift treatment should ideally be repeated every 6 to 8 weeks to keep up with the natural lash shedding cycle.
Provide your clients with the following 24-hour post-treatment instructions to protect their investment:
-
Avoid sleeping directly on your stomach or side to prevent crushing the lashes.
-
Keep the eye area completely dry and avoid steam, facials, or swimming.
-
Do not apply mascara or eye makeup.
-
For daily maintenance after the first 24 hours, advise them to cleanse their eye area using a gentle, lash-safe foam cleanser to keep the lifted hairs healthy and clean.
