


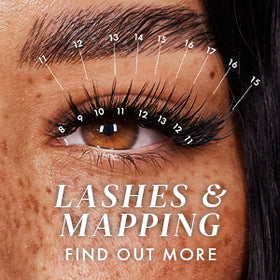


The Ultimate Guide to Lash Prep | 3 Options to Look After Your Clients, Your Lash Retention, and Your Budget!
We all know by now that good Lash Prep is essential to healthy, long lasting retention and to healthy, long-time clients! If you’re a beginner or if you’re a little bit pressed for time because a client arrived late or they came for a lash fill with very few lashes left, you might be tempted to skip a few steps so that you can spend more time on their lashes.
Depending on how far along you are in your lash career as well, you might not be ready to put so much of your budget into pretreatment products, opting instead for the absolute bare minimum of lash extensions products that you need. If you’re not sure where to start, we’re here to help advise you on three different pretreatment routines which will serve you and your clients, no matter how much time, budget and experience you have!
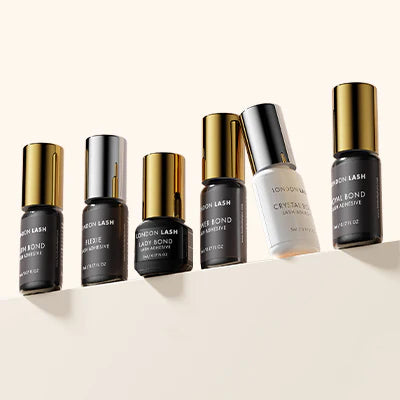
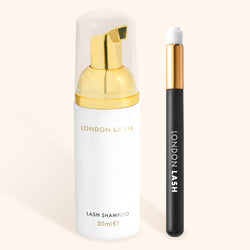
Option One: The One-Step-Wonder – Lash Shampoo
Lash Shampoo is a quick and easy way to get the lashes and the skin around the eyes clean. It’s gentle for your clients whilst being really effective at removing makeup and skincare residue, dirt, dust, sebum and anything else that can inhibit eyelash extensions glue from forming a good bond with the natural lashes.
DID YOU KNOW: Our Lash Shampoo also contains Tea Tree Extract which is a natural antibacterial agent, so helps to maintain your clients’ eye and lash health too. In addition to being a great one-product-wonder when it comes to pre-treatment, it also works very well as eyelash extensions aftercare, so it’s worth retailing to your clients so that you can ensure they have the best at-home lash extensions aftercare between treatments!

At the very least, Lash Shampoo will get rid of the majority of residue on the lashes that we want to get rid of and will clean the skin, helping your eye patches to stay in place. The last thing to consider is that you will need to rinse the Lash Shampoo off of the lashes thoroughly so that it leaves behind no residue, as this will then have a negative impact on your lash extensions retention. Be sure to dry the lashes thoroughly as well before you begin your lash extensions application so that you don’t get any shock polymerization.
Want to know more about Lash Shampoo?Check out this article!
Cost of one Bottle: $25
Cost Per Use: 42¢
Time Spent: 3 Minutes
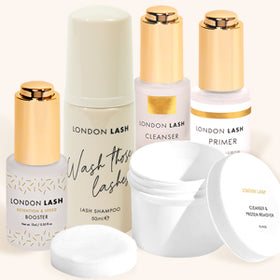
Option Two: The Happy Medium – 3-Step Routine
There was a time – if you can believe it – when we didn’t even have Lash Shampoo in our collection. If you’ve been in the industry for a long time then you’ll know how fast and how much the advice about Lash Extensions care can change, and we have to say that in particular where lash pre-treatment and lash extensions aftercare are concerned, there has been huge improvement!
With that being said, our training manuals and courses always promoted our 3-step pre-treatment routine which seeks to cleanse the skin around the eyes, helping eye patches to stay in place, strip the lashes of anything that might get in the way of your lash glue forming a strong bond between the extension and the natural lash, and to rehydrate the lash to help the glue to cure as you expect it to.
Step 1 is Protein Remover & Cleansing Pads. These little cleansing wipes may be small, but they are mighty! Wrap a pad around your finger tip and use it to clean the lashes and the skin around your client’s eye, taking extra care to clean their lash line, ensuring that all makeup and skincare residue, and any sebum etc. has been removed.
TOP TIP! If you’re using Protein Pads during a lash fill, be sure to avoid the glue bonds and focus instead on the eyelid area. To clean the lash line, take a microfiber brush or a lip applicator brush and dip it into the liquid in your Protein Pads instead. This ensures that you are getting a deep clean, but you’re not going to get any of the fibers from the Protein Remover Pads stuck to the glue bonds.

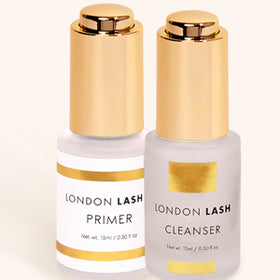
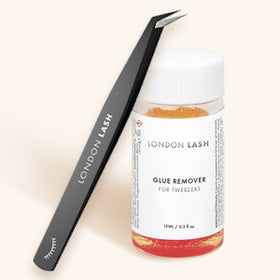
The Next step is Cleanser. Lash Extensions Cleanser is alcohol based which is how it is able to completely strip the lashes of anything that’s going to prevent your lash extensions glue from forming a strong bond. When applying Cleanser, take extra care not to touch the skin, and not to run into the eyes. Apply it only to the glue bonding area and try to avoid the tips of the natural lashes too so that they don’t get too dry.

The last step of this routine is Primer, which is water based and must be applied to the lashes after the use of Cleanser. With Cleanser being alcohol based, it’s a bit drying. If we skipped Primer here, the lashes would be nice and clean but our glue would take longer to bond with them, meaning that our extensions would begin to lean, our fans would close, and we’d get more stickies in our work. Applying Primer means that the lashes will be nourished, and our lash extensions glue will cure in the time that we expect it to.
Cost of Products: $80
Cost Per Use: 90¢
Time Spent: 10 Minutes
Option Three: The Five Star, Five Step Routine
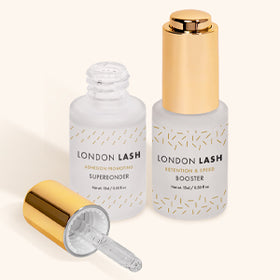
The last option is simple – the two above options plus Booster. Booster is an alkaline product which means that, when applied to the hairs, it gently lifts the hair cuticles a little bit. This makes the hairs more rough and give the glue more surface area to bond with, which improves your retention.

One thing to mention here is that if you’re a beginner, it might be worth skipping Booster for a while simply because it speeds up the drying time of your lash extensions glue so can actually have an adverse effect on your retention. When you get to a point where you are comfortably placing extensions and are considering swapping to a faster glue, that’s when it’s time to give Booster a trial run!
Cost of Products: $127
Cost Per Use: $1.15
Time Spent: 15 Minutes
The main thing to take away from this is that regardless of how tight your budget is and how little time you have, Lash Prep should never be skipped entirely. If you’re looking to save time and money on your Lash Prep shop, check out our bundles!