Top Retention Myths - Busted!

Table of Contents
TOP RETENTION MYTHS – BUSTED!
Let's set the record straight! There are so many lash rumors swirling around these days, and some of them are completely false. Here are a few things to consider when your retention is acting up or your next client comes in for a fill.
Fill Advice
Your client returns for their three-week fill, and the first thing you hear is, “You’re not going to be happy with me!” Then you notice their last five extensions are hanging on for dear life. Before you try to squeeze a full set into a fill appointment, explain the options. You can book a separate appointment for a full set or apply as many lashes as you can in the time available while maintaining the quality of your work.

Next, work out what might have affected retention. Ask your client whether they washed their lashes daily with the foam shampoo you provided, rubbed or picked at their lashes, used oil-based makeup, or brushed their extensions regularly. Ask about early water or steam exposure if your adhesive system’s aftercare instructions call for it. Then review your own application, from attachment and pretreatment to adhesive choice.
Let’s Talk Attachment!
Pay attention to how much of the extension base sits flush against the natural lash. A short contact area or a lifted base can leave the fan prone to brushing off within a few days.
Check placement and isolation as you work. An extension that bonds to a neighboring lash creates a sticky, which can affect retention and damage the natural lashes. Pay attention to how much lash glue you pick up so the base makes secure contact with the natural lash.

Let’s Talk Pretreatment!
Your pretreatment routine is a vital part of your client’s appointment.
I like to start with a foam shampoo to remove makeup and dirt from my clients’ lashes. I then rinse away any remaining shampoo with saline solution to leave a clean surface for primer.
Primer prepares the natural lashes for bonding and plays its own role in supporting retention.

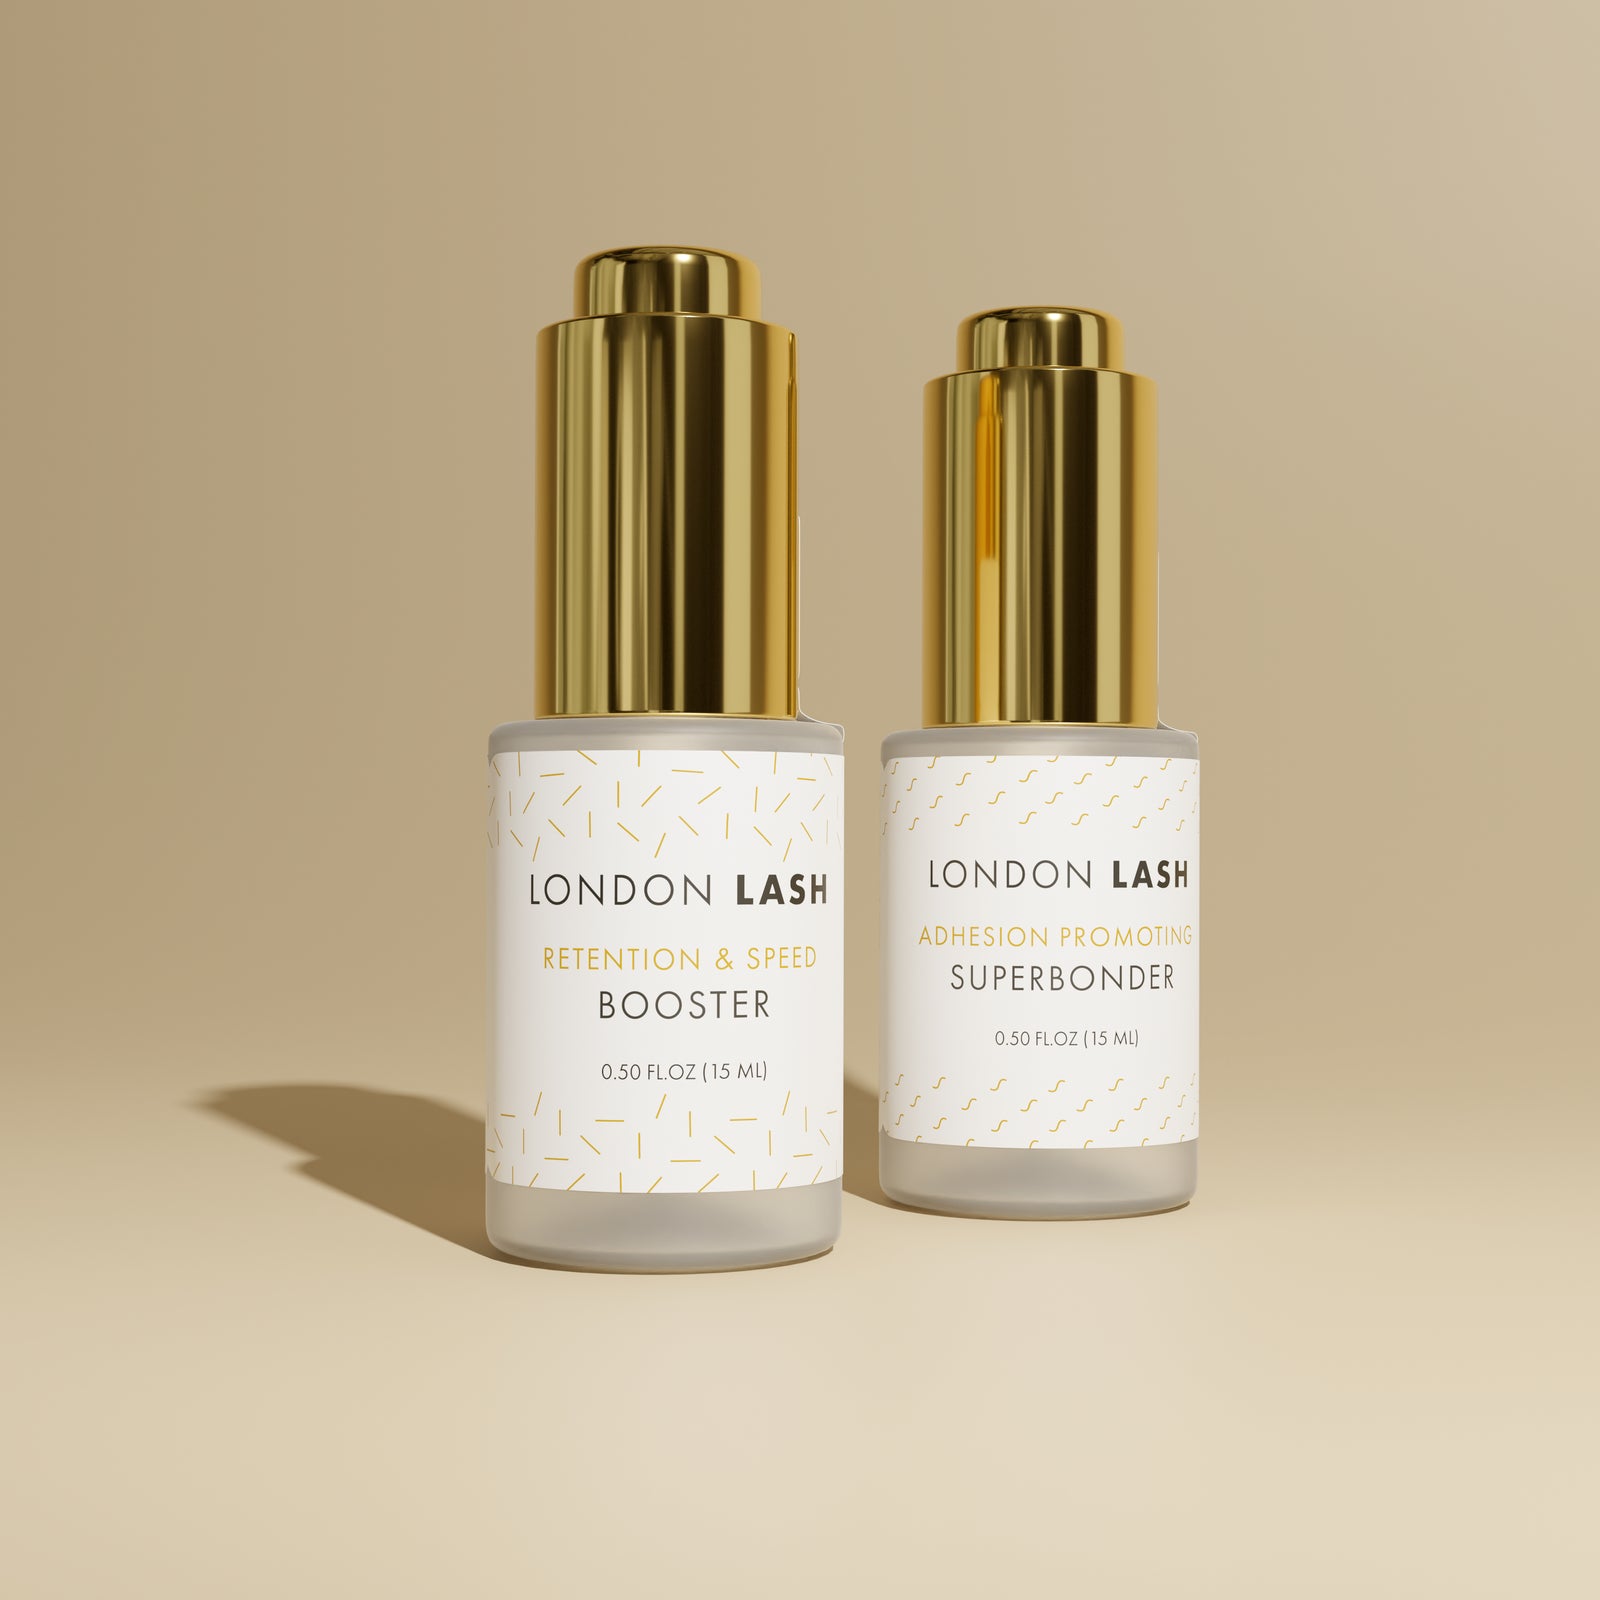
Don’t forget Booster! I use it on both the natural lashes and the lash strip, following the product instructions for each application. On the natural lashes, it helps prepare the surface for bonding. On the strip, it helps keep adhesive from traveling up the fan and closing it during application. It’s one of my lash kit must-haves.
Each pretreatment product has a specific role. Follow the instructions for the products you use and tailor your routine to your client’s lashes.
Let’s Talk Glue!
Use our glue chart to choose an adhesive with a drying time that matches your placement speed. If the adhesive starts to set before the extension makes contact with the natural lash, the bond can be weak and extensions may brush off. Keep an eye on your room’s humidity and temperature with a hygrometer, and check that both are within the recommended range for your adhesive.

If a client comes back with poor retention, review the attachment, pretreatment, and adhesive conditions from their appointment alongside their aftercare routine.
IF YOU CUT CORNERS, YOU JUST KEEP GOING IN CIRCLES!
Written by guest blogger Laura Roussel, LLP Trainer in Devon, England
Check out these featured products