Lash Glue Nozzle Care 101
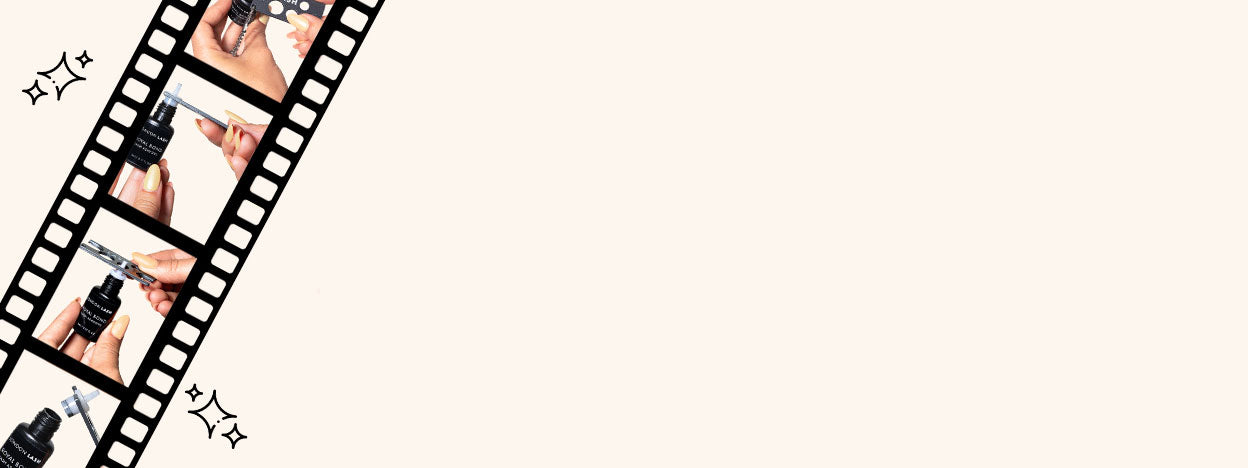

Table of Contents
How to Take Care of Your Glue Nozzle | Avoiding Lash Glue Disasters
Lash glue can be one of the most temperamental products in your kit. Even when you have found the right adhesive for your needs and established suitable room conditions, a neglected nozzle can cause problems.
Keeping the nozzle clean and replacing the cap correctly helps prevent blockages, leaks, and stuck lids. Here are some practical habits to build into your lash treatment routine.

Always Replace the Cap Correctly
Replace the adhesive cap securely after each use, following the bottle’s instructions. A properly fitted cap helps protect the adhesive from exposure to moisture between uses.
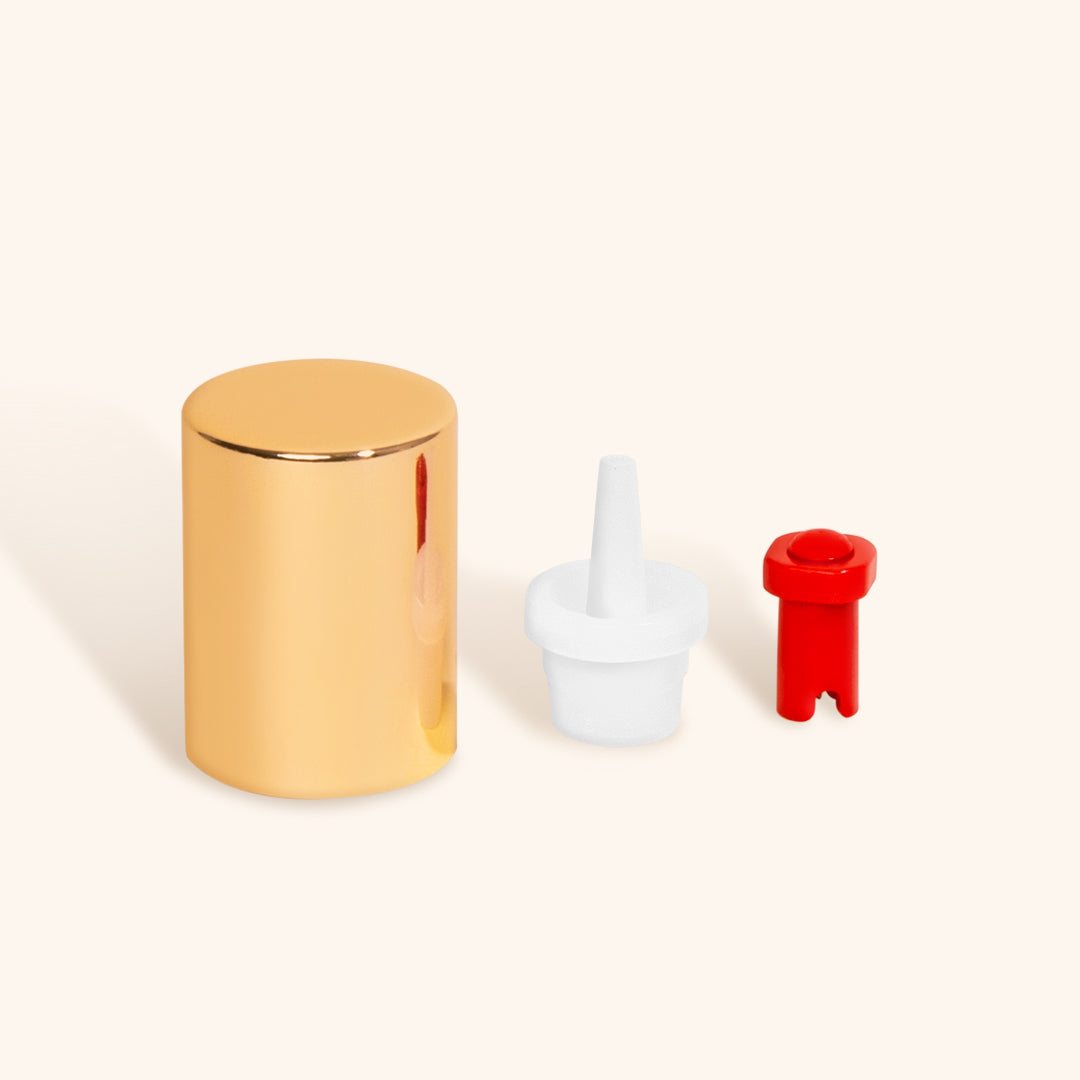
If your adhesive comes with a red pin, do not use it as a substitute for the cap during storage. Follow the product instructions for its intended use, and do not pierce a nozzle that is already open.
The cap’s internal pin fits into the nozzle opening. Keeping the nozzle free from adhesive buildup helps the cap close correctly and reduces the chance of it becoming stuck.

Keep the Nozzle Clean
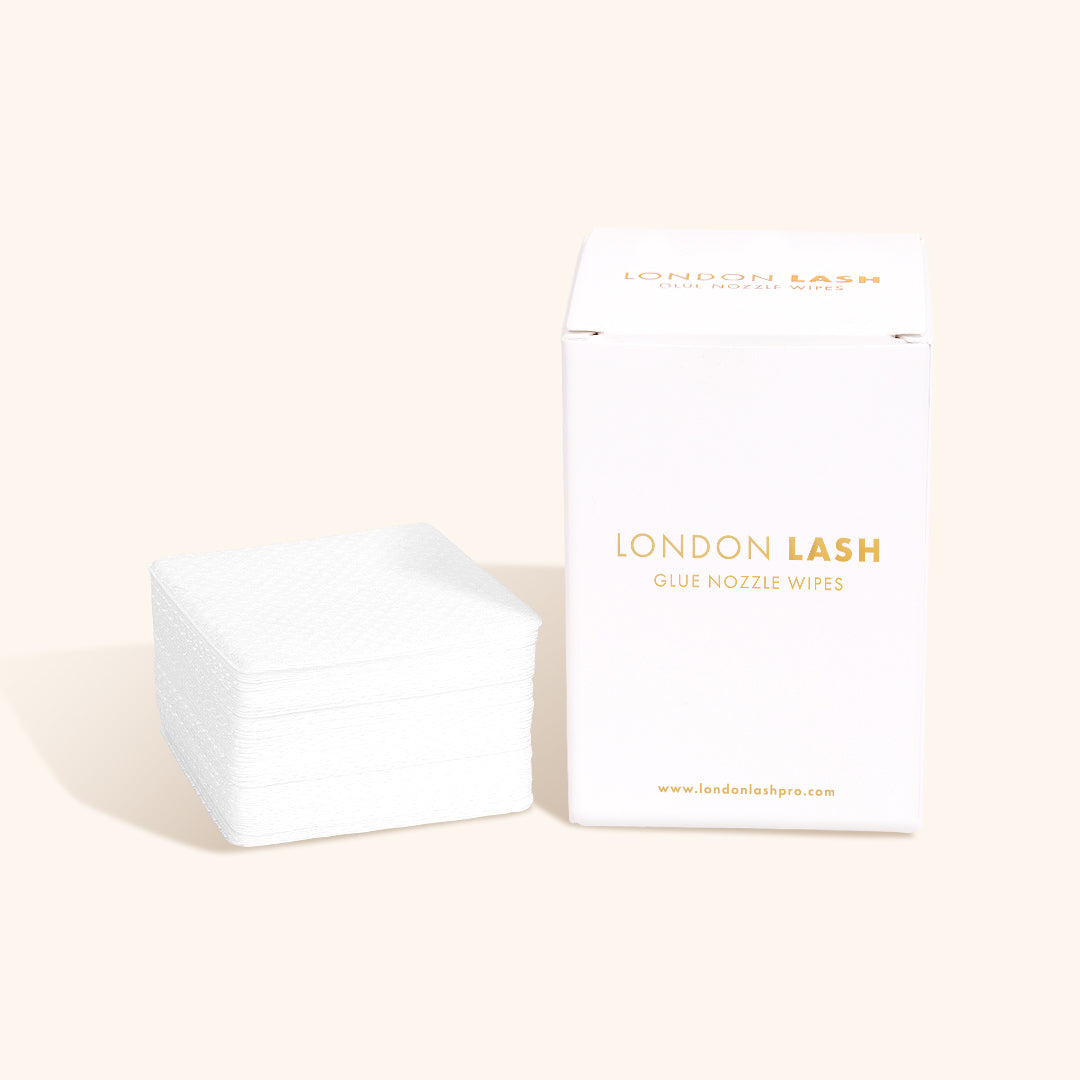
Adhesive residue can build up around the nozzle, interfere with the cap, and make the bottle difficult to reopen. Wipe the nozzle after dispensing with purpose-made Lint-Free Glue Nozzle Wipes, following the product instructions.
Avoid using unsuitable materials to clean your adhesive nozzle:
- Tissues: these can leave fibers behind and stick to wet adhesive.
- Cotton pads or cotton buds: contact with cyanoacrylate adhesive can cause a rapid heat-producing reaction.
- Clothing and bed covers: do not wipe adhesive onto your uniform or lash bed cover. This can damage the fabric, and some materials can react with the adhesive.
- Wet wipes or damp materials: moisture can cause adhesive to cure around the nozzle.
- Your fingers: avoid direct skin contact with lash adhesive. Using your fingers can also transfer moisture and oils to the nozzle.

Keep your lash glue nozzle wipes within easy reach so cleaning the nozzle becomes part of your routine every time you dispense a fresh drop.

Burp the Bottle
“Burping” describes releasing trapped air and allowing adhesive to settle back down the nozzle after dispensing. Alongside careful cleaning and storage, this can help you get the most out of your lash adhesive.
Dispense carefully and avoid squeezing the bottle excessively. Return it upright and follow the manufacturer’s instructions for clearing the nozzle before replacing the cap. Keep the opening pointed away from your face and your client, and avoid forceful squeezing that could eject adhesive.
Once any trapped air has escaped and the adhesive has settled, wipe the nozzle and replace the cap securely. Capping a bottle while wet adhesive remains around the opening can cause the lid to stick.

Replacing a Blocked or Stuck Nozzle
If a nozzle becomes blocked or damaged, check whether it can be replaced according to the adhesive manufacturer’s instructions. Compatible spare glue nozzles and a Lash Glue Adhesive Rescue Kit can help you replace suitable bottle components.
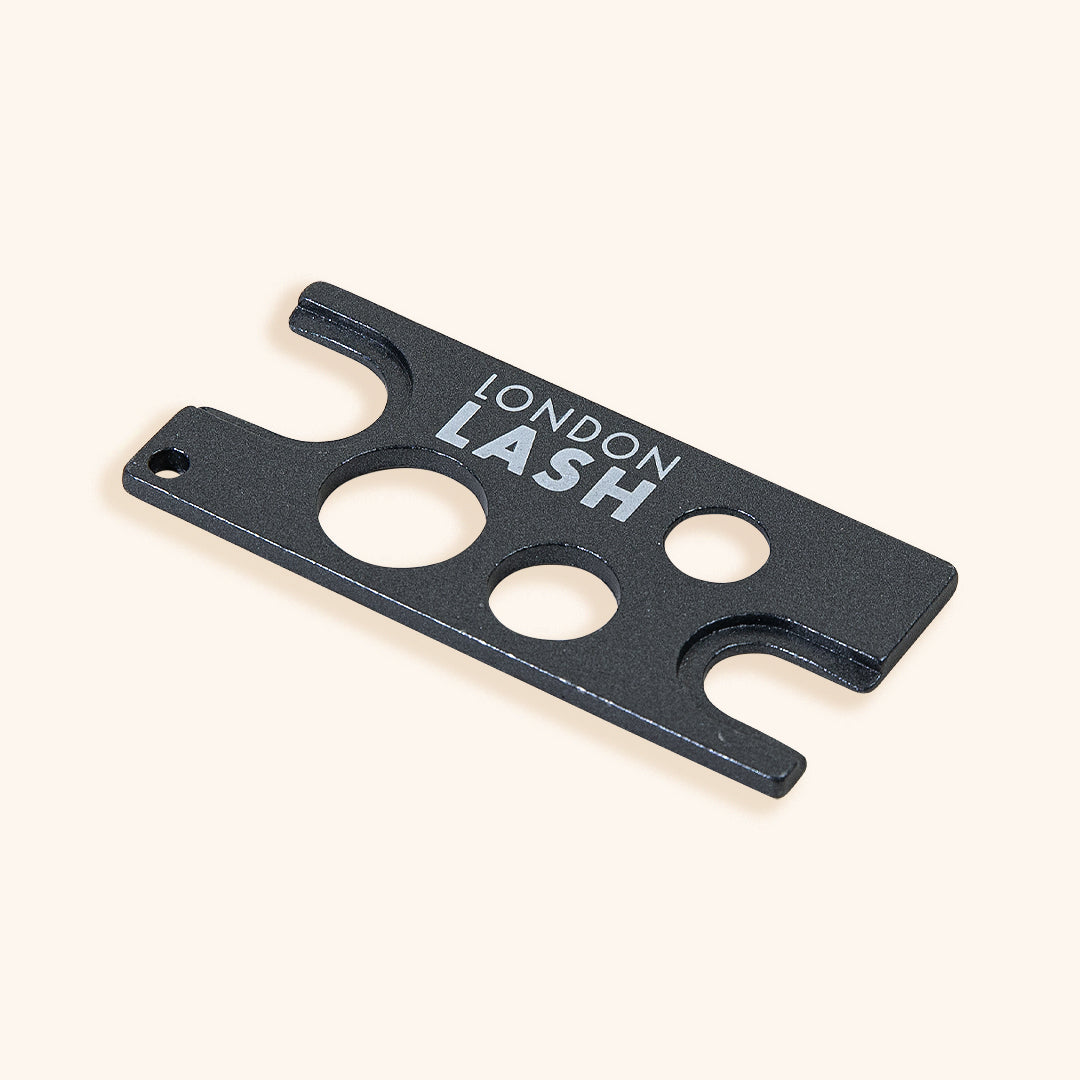
A glue nozzle opener provides a dedicated tool for removing compatible nozzles. Follow its instructions and the adhesive’s safety guidance, including the recommended protective equipment and spill precautions.
Keep the bottle upright on a stable, protected work surface and away from your client. Avoid forcing a stuck component or squeezing the bottle while removing the nozzle. Fit the replacement nozzle and cap securely, keeping the bottle open for as little time as possible.
Replacing a nozzle will not restore adhesive that has already cured or deteriorated inside the bottle. If the adhesive’s consistency or performance has changed, follow the manufacturer’s guidance on replacement and disposal.

Make Nozzle Care Part of Your Routine
Careful dispensing, cleaning, and secure capping can help reduce avoidable nozzle problems. Keep the correct wipes and compatible replacement tools in your kit, and always follow the current instructions for your adhesive.
A few consistent habits can save time during appointments and help keep your lash workstation clean and organized.